Dataweave Modules
What are they?
DataWeave modules provide reusable functions that aren't necessarily core to the runtime, like
isAlpha, takeWhile, countBy, etc. DataWeave provides a large number of built in libraries to help with common tasks which we can import; for example, if you wanted to create a signed JWT for authentication, you would leverage the Binaries and Crypto modules:data-weave
%dw 2.0
import toBase64 from dw::core::Binaries
import HMACBinary from dw::Crypto

fun binaryJson(obj: Object) = write(obj, 'application/json', { indent: false }) as Binary
fun base64URL(str: Binary) = toBase64(str) replace "+" with "-" replace "/" with "_" replace "=" with ""
fun base64Obj(obj: Object) = base64URL(binaryJson(obj))
fun JWT(header: Object, body: Object, key: String) : String = do {
    var jwt = "$(base64Obj(header)).$(base64Obj(body))"
    ---
    "$(jwt).$(base64URL(HMACBinary(key as Binary, jwt as Binary, "HmacSHA256")))"
}

output application/json
---
JWT({
    alg: 'HS256',
    typ: 'JWT'
}, {
    iat: now() as Number { unit: 'milliseconds' },
    sub: now() as Number { unit: 'milliseconds' },
    name: 'Michael Jones'
},
'y(O>KUIIj}m\$og)')
If you run this in https://dwlang.fun, you'll see that it produces a valid JWT that you can test on https://jwt.io.
So DataWeave provides a lot of out-of-the-box modules we can leverage for common tasks.
Like the code above, we frequently run into situtations where a reusable function would be extremely useful.. but there isn't one! So what can we do? Well, just like the vast majority of languages, we can create and publish our own reusable modules; once published, we can include it as a maven depedency just like anything else. Reusable modules provide benefits beyond just standardization and reuse - we can actually put these modules into their own CI/CD pipelines, which allows us to introduce new, reusable features that are properly tested and documented!
Let's Build a JWT Module!
A large number of APIs require that we generate a signed JWT in order to authenticate. MuleSoft does not currently have a built in function/connector for this process, so we'll leverage functionality that already exists within DataWeave to build our own reusable library.
Development Environment Setup
DataWeave modules are still Maven projects, so we can develop them in Anypoint Studio; however, using IntelliJ provides an extended tool set which makes for an improved developer experience.
- Install IntelliJ: If you don't already have IntelliJ installed, visit https://www.jetbrains.com/idea/ and download the Community edition.
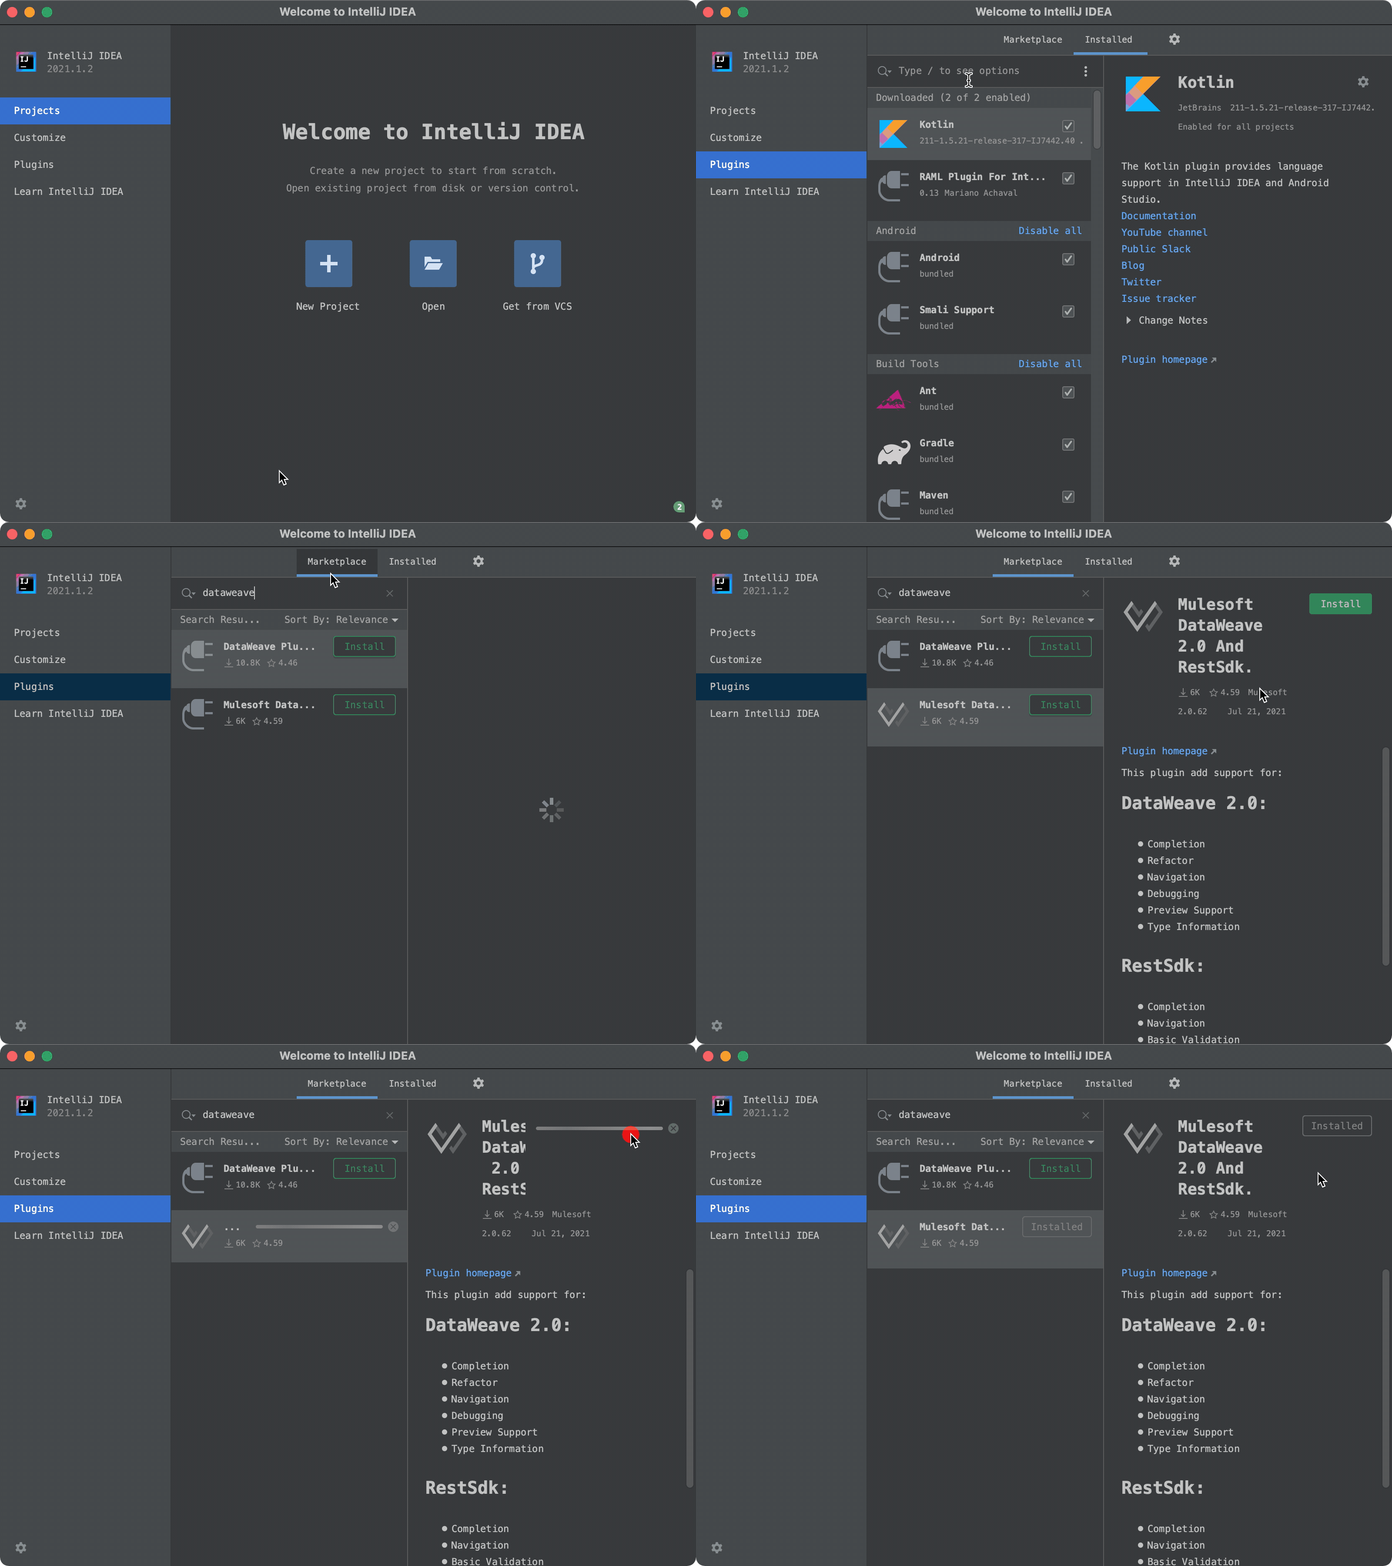
- Add the DataWeave plugin, which provides tooling around DataWeave project types, line-by-line debugging, and more.
Create the DataWeave Project
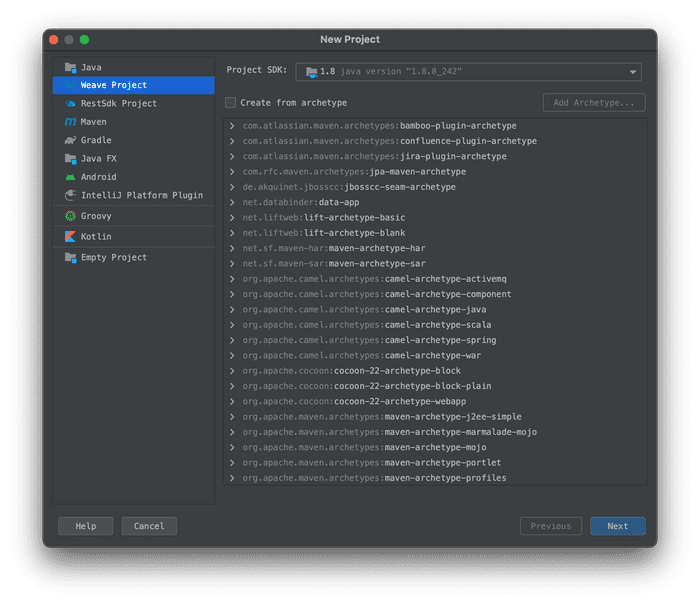
- In IntelliJ, click Create Project
- Select the type “Weave Project”
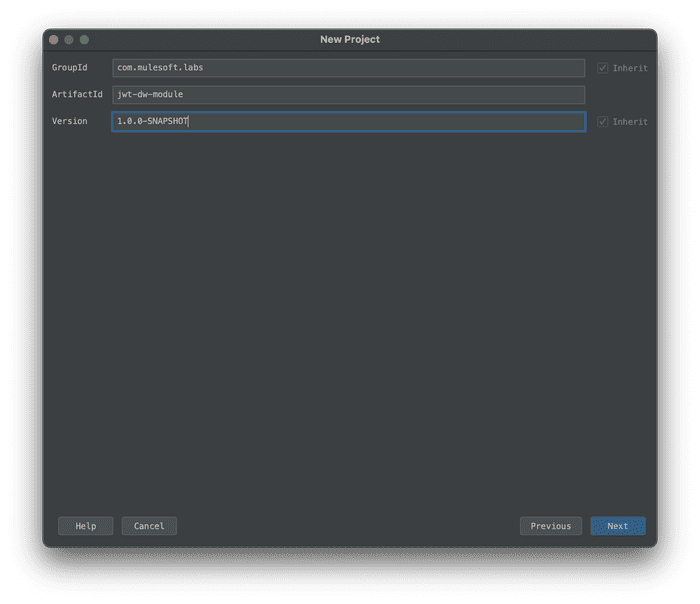
- Set groupId to
com.mulesoft.codelabs - Set artifactId to
jwt-dw-module - Leave the version as
1.0.0-SNAPSHOT
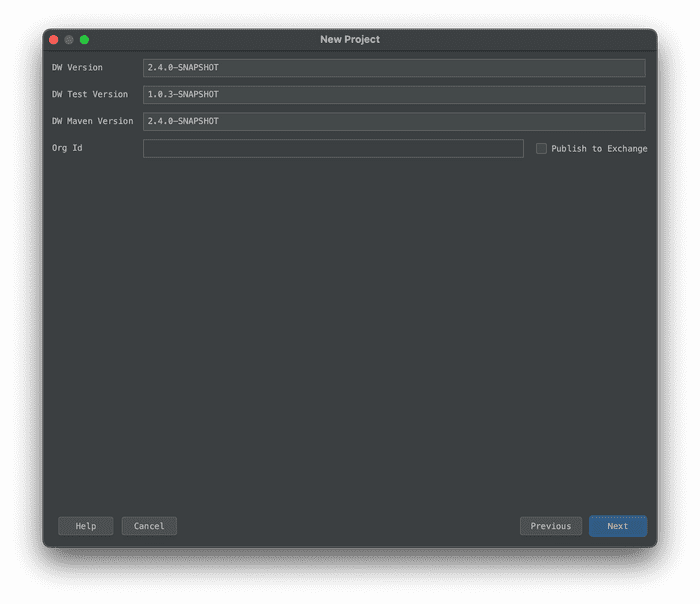
- On the next screen, leave all of the defaults
- Set the project name to
jwt-dw-moduleand choose a location to save the files
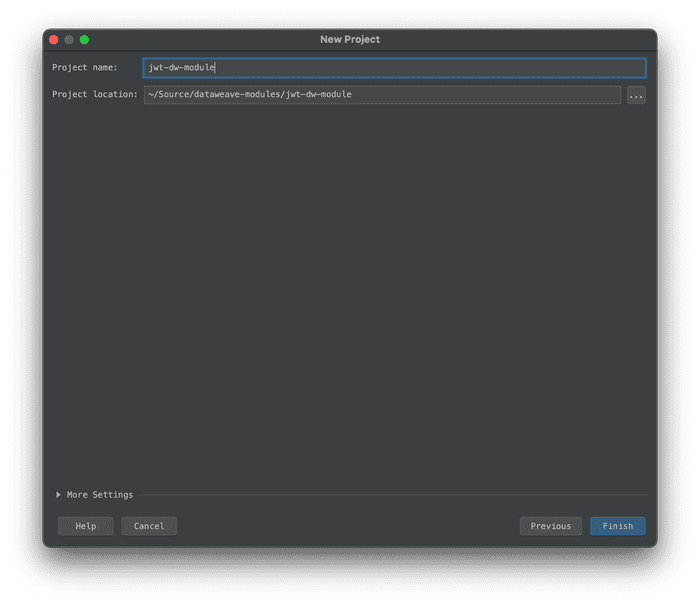
- Create the project
Examining the Project Structure
Once the project has been created, you'll notice that a number of folders are present by default:
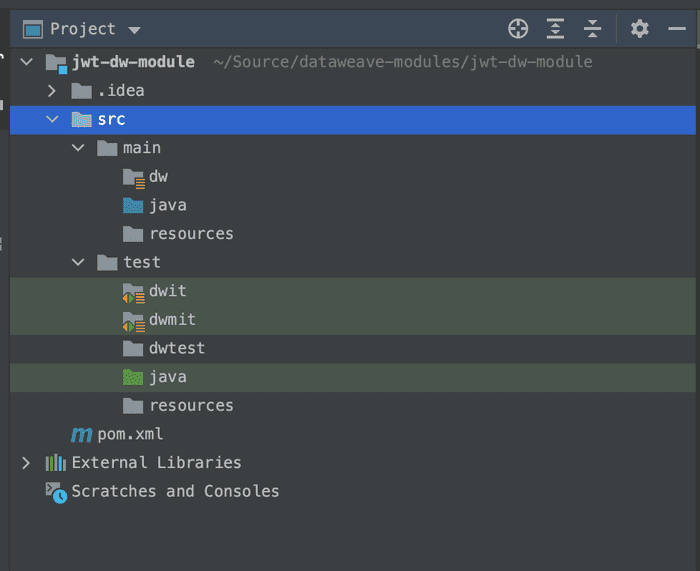
This is where we will setup our code, as well as any unit testing we wish to include. The project structure is dictated by the configuration in the POM file:
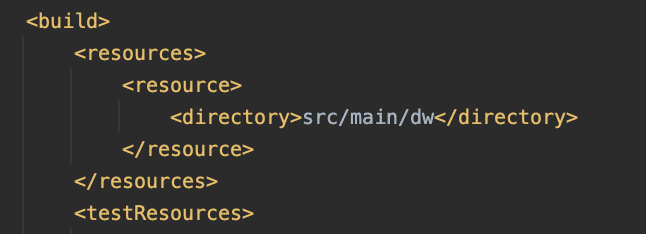
This entry indicates that, when building the project, we should look for DataWeave files in
src/main/dw. Your folder structure here dictates what the import looks like; eg: creating a subfolder src/main/dw/jwt with a file called RSA.dwl will make our import: import * from dw::jwt::RSA.When adding DataWeave files in a Mule Application, we typically place them in the default
src/main/resources directory; however, for the purposes of a DataWeave module best practice suggests using src/main/dw.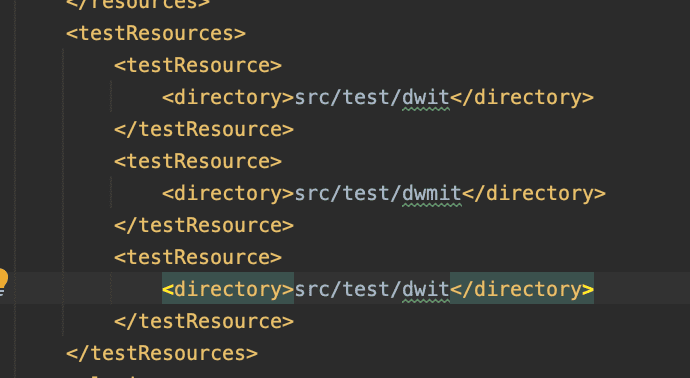
These entries dictate where the build plugin should check for unit tests that need to be run.
Populate the Code
Now that we have the project scaffolded, let's add our code.
Common.dwl: Functions shared by both the RSA and HMAC functions
- In
src/main/dw, create a folder called jwt. - In
src/main/dw/jwt, create a Dataweave Component (module) calledCommon.dwl
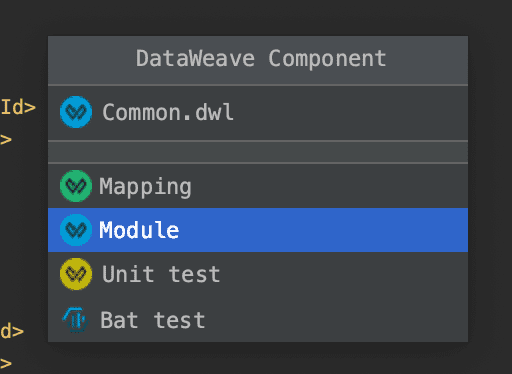
- Paste the following code:
dataweave
%dw 2.0
import toBase64 from dw::core::Binaries

fun binaryJson(obj: Object) =
    write(obj, 'application/json', { indent: false }) as Binary

fun base64URL(str: Binary) =
    toBase64(str) replace "+" with "-" replace "/" with "_" replace "=" with ""

fun base64Obj(obj: Object) =
    base64URL(binaryJson(obj))

/** basic JWT with header and payload, no signing */
fun JWT(header: Object, payload: Object) =
    "$(base64Obj(header)).$(base64Obj(payload))"

/** basic JWT with no user specified header */
fun JWT(payload: Object) =
    JWT({typ:'JWT'}, payload)
HMAC.dwl: Functions used for creating HMAC-SHA signed JSON Web Tokens
- In
src/main/dw/jwt, create a Dataweave Component (module) calledHMAC.dwl

- Paste the following code:
dataweave
%dw 2.0
import HMACBinary from dw::Crypto
import fail from dw::Runtime
import jwt::Common

var algMapping = {
    "HmacSHA256": "HS256",
    "HmacSHA384": "HS384",
    "HmacSHA512": "HS512"
}

fun alg(algorithm: String) : String | Null =
    algMapping[algorithm] default fail('Invalid algorithm provided for signing')

fun signJWT(content: String, key: String, alg: String) : String =
    Common::base64URL(HMACBinary(key as Binary, content as Binary, alg))

/** JWT with header, payload, and signature by specific algorithm. valid algorithms dictated by HMACWith */
fun JWT(header: Object, payload: Object, signingKey: String, algorithm: String) : String = do {
    var jwt = Common::JWT({
        (header - "alg" - "typ"),
        alg: alg(algorithm),
        typ: "JWT"
    }, payload)
    ---
    "$(jwt).$(signJWT(jwt, signingKey, algorithm))"
}

/** JWT with header, payload, and signed with HMAC-SHA256*/
fun JWT(header: Object, payload: Object, signingKey: String) : String = do {
    JWT(header, payload, signingKey, 'HmacSHA256')
}

/** JWT with payload and automatically generated header, signed with HMAC-SHA256 */
fun JWT(payload: Object, signingKey: String) : String =
    JWT( {},payload, signingKey, 'HmacSHA256')
RSAHelper.java: Provides functionality not available in DataWeave via Java necessary for RSA signing
When creating DataWeave modules, we can even include and leverage custom Java code, or java dependencies! DataWeave does not currently have built in support for RSA signing, so we will create a simple helper java file to handle this for us.
- In
src/main/java, create Java classRSAHelper.java - Paste the following code:
java
import java.io.UnsupportedEncodingException;
import java.security.*;
import java.security.spec.InvalidKeySpecException;
import java.security.spec.PKCS8EncodedKeySpec;
import java.util.Base64;

public class RSAHelper {
    public static String signString(String content, String privateKeyContent, String algorithm) throws NoSuchAlgorithmException, InvalidKeySpecException, InvalidKeyException, UnsupportedEncodingException, SignatureException {
        KeyFactory kf = KeyFactory.getInstance("RSA");
        PKCS8EncodedKeySpec keySpecPKCS8 = new PKCS8EncodedKeySpec(Base64.getDecoder().decode(privateKeyContent));
        PrivateKey pk = kf.generatePrivate(keySpecPKCS8);

        Signature privateSignature = Signature.getInstance(algorithm);
        privateSignature.initSign(pk);
        privateSignature.update(content.getBytes("UTF-8"));
        byte[] s = privateSignature.sign();
        return Base64.getUrlEncoder().encodeToString(s).replace("=", "");
    }
}
RSA.dwl: Functions used for creating RSA signed JSON Web Tokens
- In
src/main/dw/jwt, create a Dataweave Component (module)RSA.dwl

- Paste the following code:
dataweave
%dw 2.0
import java!RSAHelper
import jwt::Common
import fail from dw::Runtime

var algMapping = {
    "Sha256withRSA": "RS256",
    "Sha384withRSA": "RS384",
    "Sha512withRSA": "RS512"
}

fun alg(algorithm: String) : String | Null =
    algMapping[algorithm] default fail('Invalid algorithm provided for signing')

fun cleanKey(key: String) : String =
    key replace "\n" with "" replace /(-+)(BEGIN|END)(\sRSA)? (PRIVATE|PUBLIC) KEY(-+)/ with "" replace " " with ""

fun signJWT(jwt: String, privateKey: String, algorithm: String) : String =
    RSAHelper::signString(jwt, cleanKey(privateKey), algorithm)

/** JWT with header, payload, and signature by specific algorithm. valid algorithms dictated by HMACWith */
fun JWT(header: Object, payload: Object, pkcs8privateKey: String, algorithm: String) : String = do {
    var jwt = Common::JWT(
    { (header - "alg" - "typ"), alg: alg(algorithm), typ: 'JWT' },
    payload)
    ---
    "$(jwt).$(signJWT(jwt, pkcs8privateKey, algorithm))"
}

/** JWT with payload and automatically generated header, signed with HMAC-SHA256 */
fun JWT(payload: Object, pkcs8privateKey: String) : String =
    JWT({}, payload, pkcs8privateKey, "Sha256withRSA")
Seeing an error about theimport java!RSAHelper? This is normal; unfortunately the DataWeave plugin isn't aware of changes made to Java code. While you can test and develop Java code like normal, you will need to reload the project after making changes before the DataWeave "linter" becomes aware. You may also have to build and install (mvn install) the project first.
Setup a simple mapping test:
Next, in order to have an entry point for testing our code, lets setup a simple mapping.
- In
src/test/dwtest, create a DataWeave Component (mapping) calledHMAC_Testing.dwl

- At the bottom of IntelliJ, click Weave Preview to open the mapping preview. This shows us a live preview of the results of our dataweave!

- In order to simulate some incoming data, we'll add an input. This allows us to set a payload object with some JSON. Click the + button in the Inputs panel
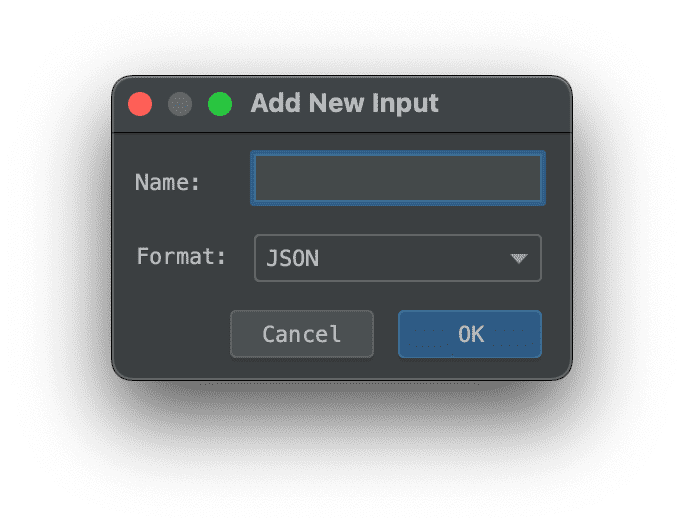
- Set a sample payload which we will include in our token:
json
{
  "firstName": "Michael",
  "lastName": "Jones"
}- And finally in the mapping DataWeave code, paste the following:
dataweave
%dw 2.0
import jwt::HMAC
output application/json
---
HMAC::JWT(payload, "Mulesoft123!")
And there we go! We should now see a signed JWT being output in the preview pane. That tokens should look like:
json
"eyJhbGciOiAiSFMyNTYiLCJ0eXAiOiAiSldUIn0.eyJmaXJzdE5hbWUiOiAiTWljaGFlbCIsImxhc3ROYW1lIjogIkpvbmVzIn0.izgs2w_CIE-qa0TdvzFErTOW4TPSDWrZs4b7xXdChFk"Assuming that you used the same input payload that I did. We can take this token and key, and use https://jwt.io in order to verify a valid token was created!
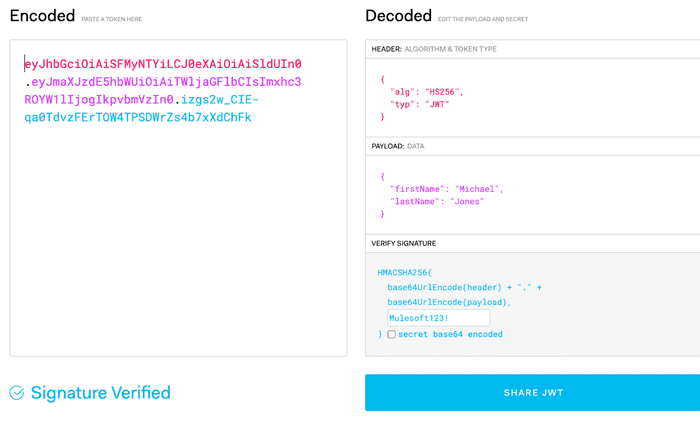
Now that we have our module wrapped up, lets go ahead and add a basic Unit Test and run the test lifecycle phase to see what how it looks.
Setup a Unit Test
- In
src/test/dwmit, create a new folder calledHMAC_Payload_Only. This folder will contain a unit test against which we are testing callingHMAC::JWTwith only a payload and key. - In
src/test/dwmit/HMAC_Payload_Only, createtransform.dwland paste the following code:
dataweave
%dw 2.0
import jwt::HMAC
output application/json
---
HMAC::JWT({
            "firstName": "Michael",
            "lastName": "Jones"
}, "Mulesoft123!")- In
src/test/dwmit/HMAC_Payload_Only, createout.jsonand paste the following:
json
"eyJhbGciOiAiSFMyNTYiLCJ0eXAiOiAiSldUIn0.eyJmaXJzdE5hbWUiOiAiTWljaGFlbCIsImxhc3ROYW1lIjogIkpvbmVzIn0.izgs2w_CIE-qa0TdvzFErTOW4TPSDWrZs4b7xXdChFk"- Open terminal, and run
mvn test; you should see your test show up as passing!
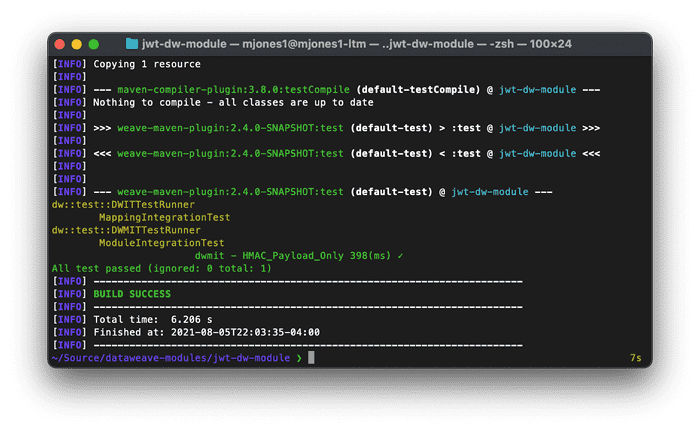
Now that you see the basic functionality, take some time to play around with the test in order to see failures, or create additional tests!
Publish Module to Maven Repository
For this example, we will be using your Anypoint Exchange as a maven repository target.
Note: This is not currently officially supported, as DataWeave modules are not recognized by the Exchange Maven Facade. You are free to deploy with this method, but until the Facade recognizes DataWeave modules it will not be officially supported.
- Find your organization ID:
- Log into https://anypoint.mulesoft.com
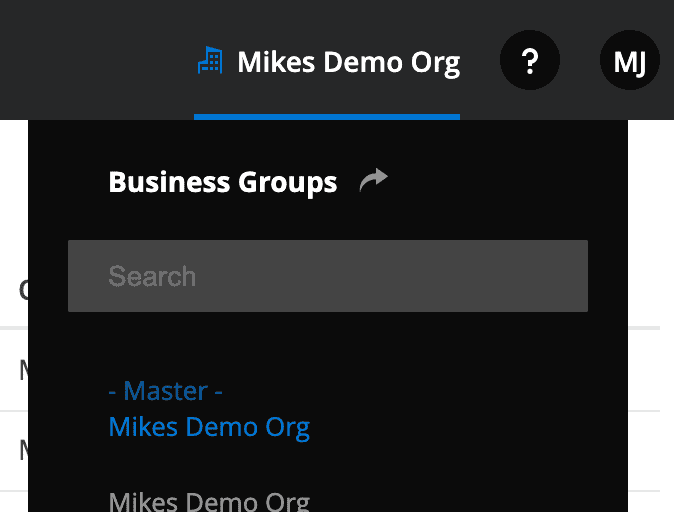
- Make sure you are in the master business group.
- Navigate to Access Management
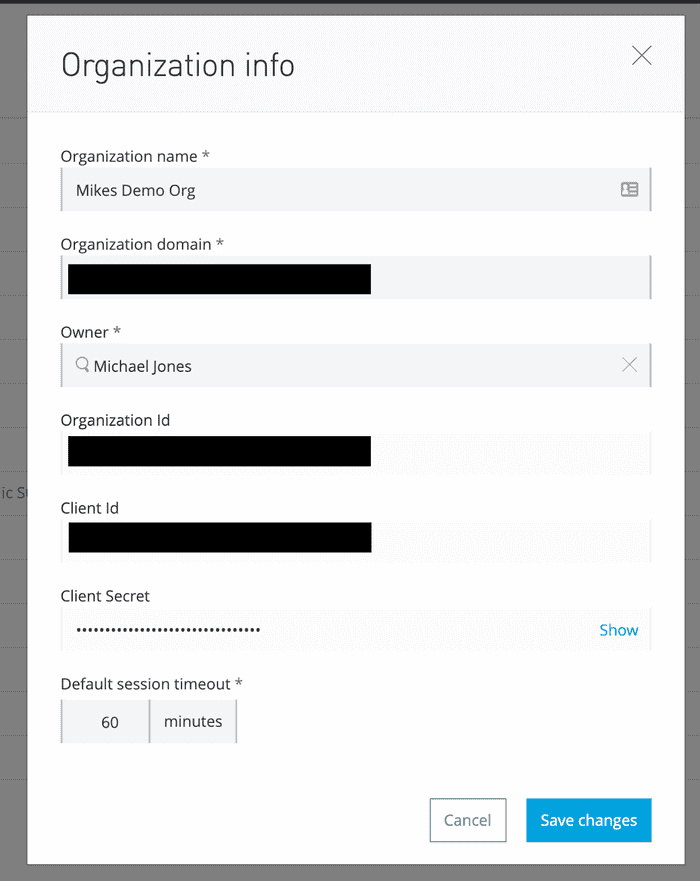
- Click on your master business group and copy your Organization Id
- In your DataWeave project, remove the line
dw-libraryinPOM.xml - In your DataWeave project, update your
groupIdkey to your Organization Id inPOM.xml - In your DataWeave project, update your
POM.xmlby adding adistributionManagement key
xml
<distributionManagement>
  <repository>
    <id>exchange-repository</id>
    <url>https://maven.anypoint.mulesoft.com/api/v2/organizations/YOUR-ORG-ID-HERE/maven</url>
    <layout>default</layout>
  </repository>
</distributionManagement>
Note: In order to deploy, you will need a server entry with credentials for the repository idexchange-repository. For an examplesettings.xmlfile you can include in your maven install, check this file: https://github.com/mikeacjones/dw-jwt-module/blob/master/.maven/settings.xml Strictly speaking, the only piece required in this file is the server entry forexchange-repository.
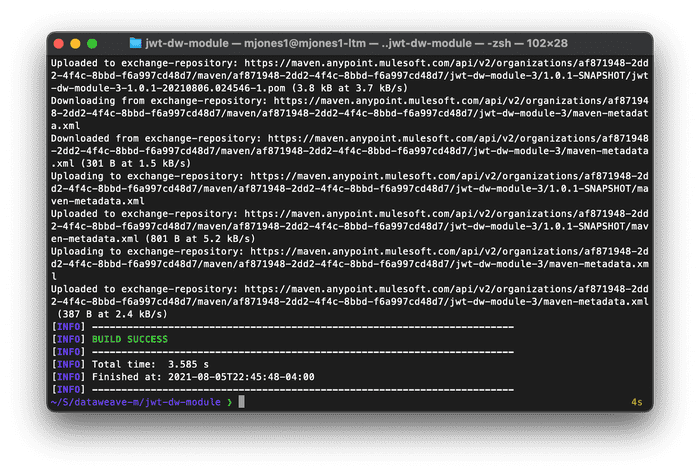
Now that we have a maven target setup, run the following commands in terminal:
mvn install(this install into our local repo; if you can't get your credentials setup for the Exchange, this will allow us to continue with the next section)mvn deploy(this will deploy to our exchange maven repo, assuming your credentials are setup)
Use our Module in a Mule Application
There you go! We can now easily include this module in our Mule application simply by adding a dependency to our project's
POM.xml file!xml
<dependency>
    <!-- Use your ORG ID if you changed it earlier -->
    <groupId>com.mulesoft.labs</groupId>
    <artifactId>jwt-dw-module</artifactId>
    <version>1.0.0-SNAPSHOT</version>
<dependency>
And now you can include it in your transform:
dataweave
%dw 2.0
import jwt::HMAC
output application/json
---
HMAC::JWT({
    name: 'Michael Jones'
}, 'Mulesoft123!')