CICD with GitHub Actions
1 / 6 Overview
CI/CD is an important piece of achieving a development process that is fast and flexible while remaining reliable.
Continuous Integration: This is the process of keeping code iterations as small as possible, and integrating them into the main codebase. By keeping our changes small, we can more quickly identify and fix new issues introduced into the codebase, as well as more quickly release stable updates. In this example, you will briefly touch on this process by automating unit testing via the MUnit plugin.
Continuous Delivery: This process ties back into continuous integration, and is the concept that our codebase should always remain deliverable. The main codebase should never enter a state which can not be deployed. As part of this process, we automate building and testing, typically via automatic deployment into QA and UAT environments. We will cover this by utilizing the mule-maven-plugin to automate deployment into our Sandbox environment.
Continuous Deployment: This is typically considered the next and final step in building out an automated pipeline; when a company is utilizing continuous deployment, the release management is tied into an automated process. While we will be taking a simplistic approach, we will touch on this today by creating a protected main branch, which requires that our build and test phases in Sandbox have passed before they can be merged into the master branch, and trigger a deployment to the Production environment.
What you'll build
In this codelab, we will build a MuleSoft API, which you will commit to a new GitHub repository. We will then walk through setting up GitHub Actions to act as our CI platform. Your project will:
- Utilize a git repository for tracking code changes
- Automatically execute and validate MUnit test
- Automatically deploy the master branch to CloudHub
- Utilize the
mule-maven-pluginto automate this process, parameterizing various secrets through the GitHub secrets vault
What you'll learn
- How to configure the mule-maven-plugin for deployment to CloudHub, and where to go for documentation covering deployment to other environments
- How to configure maven for communication with the MuleSoft Exchange and Nexus repository
- How to configure GitHub Actions workflow for maven (this process works very similarly to CircleCI - after going through this project, give configuring CircleCI a try as a self-challenge!)
What you'll need
- Anypoint platform account for which you have rights to deploy applications, and which you have Environment credentials to; suggest creating a new trial account when doing testing.
- GitHub account. Does not need to be a paid account, though you will need to set the repository to public if using a free account.
- Credentials to the MuleSoft nexus.
2 / 6 Create Mule Application
In order to automate mule application testing and deployment, we first have to have an actual application to work with! We will be using the hello-world example in MuleSoft's exchange.
Import Project
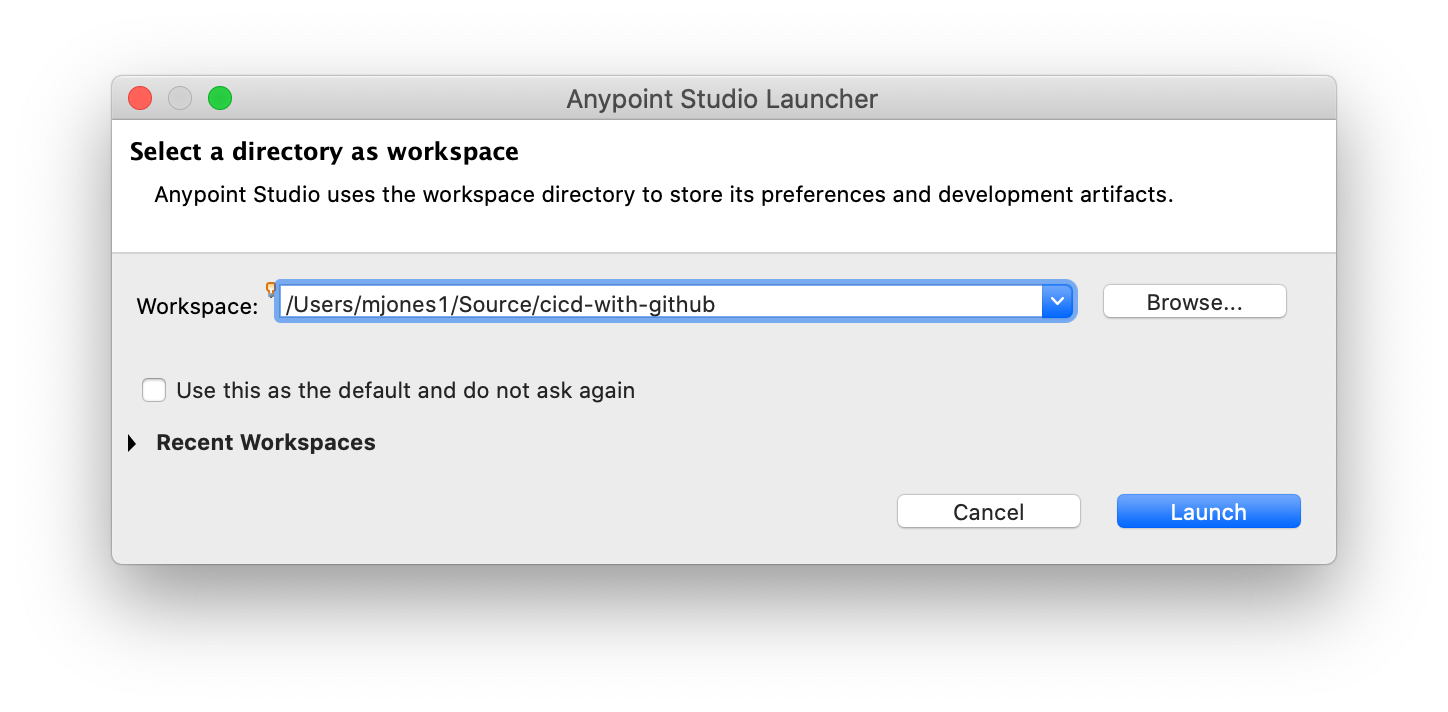
- Open Anypoint Studio
- Set your workspace to
cicid-with-github
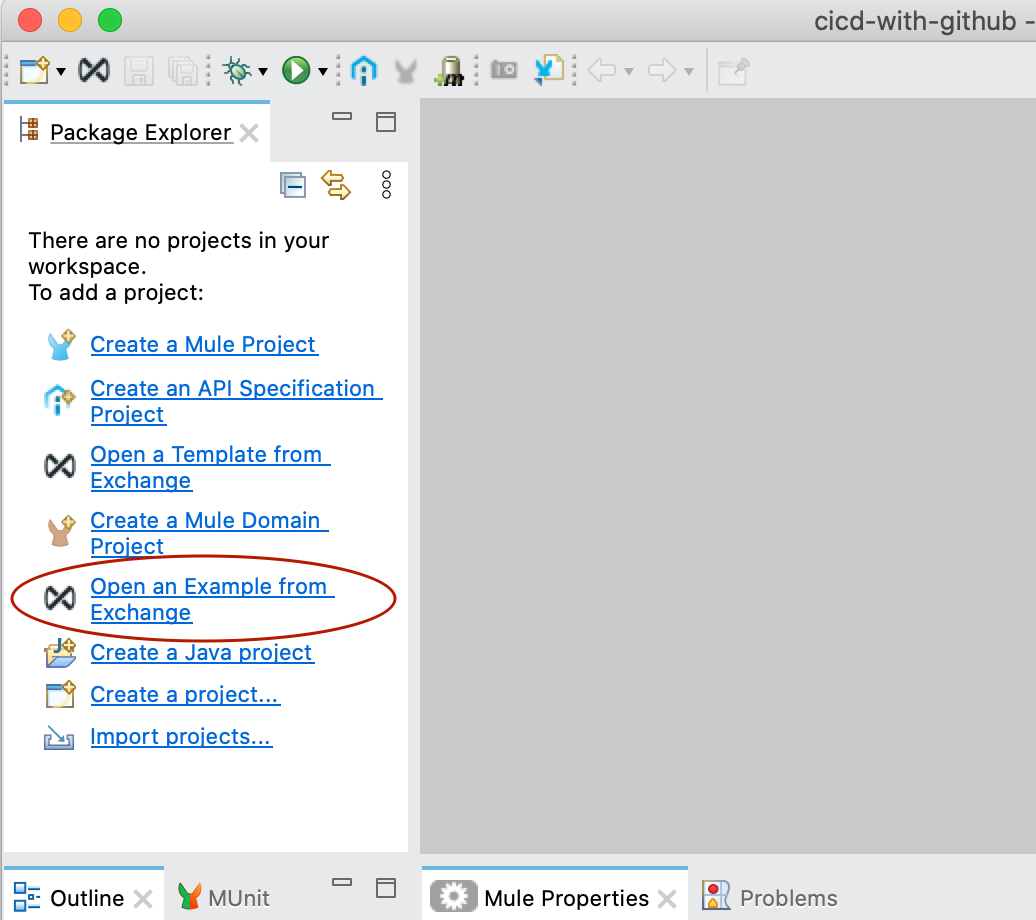
- Click
Open an Example from Exchangein the package explorer
- Click on
Provided by MuleSofton the left in the exchange window
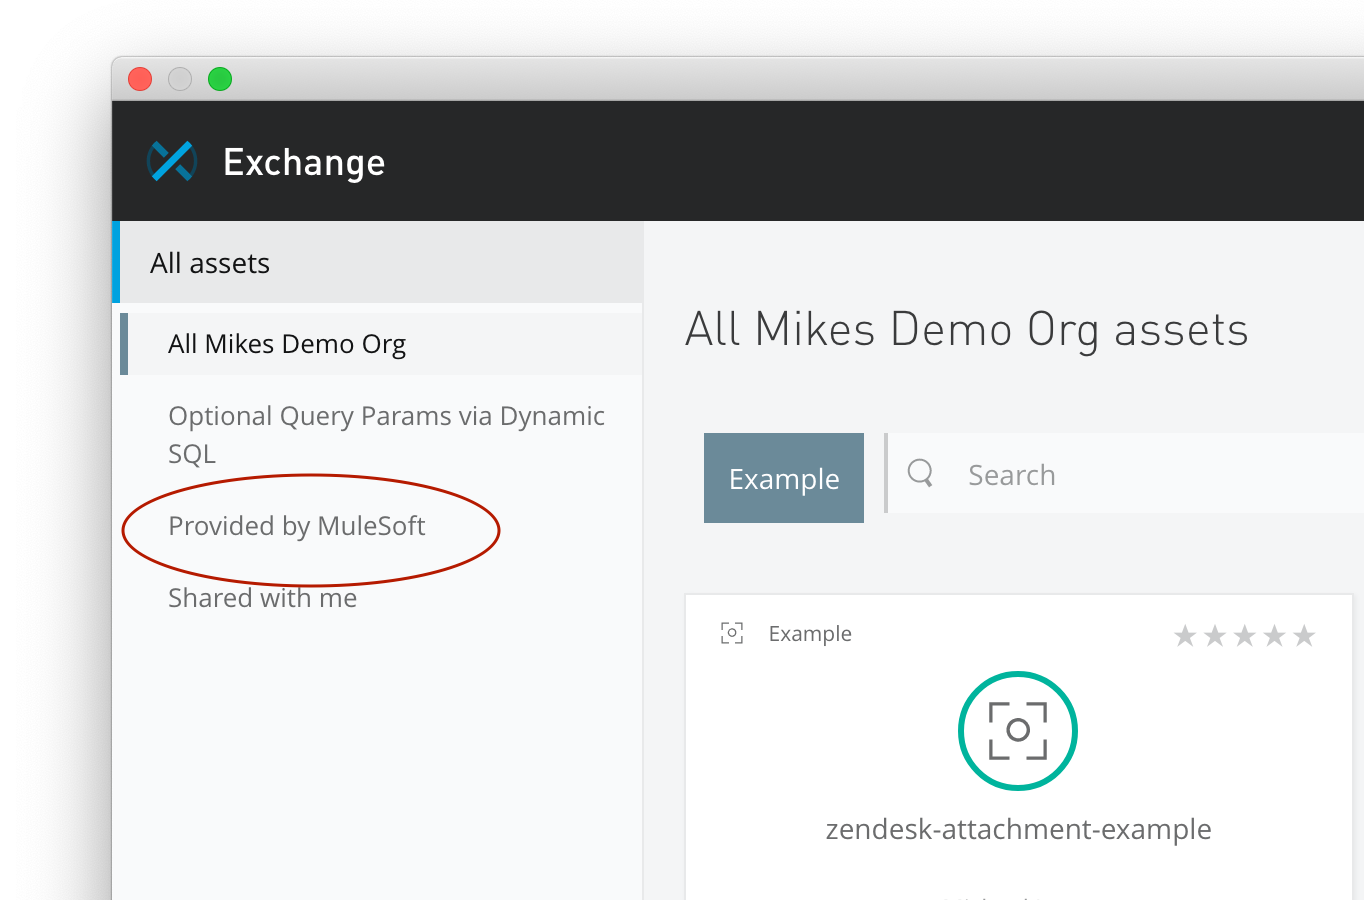
- Search for hello world and click on the example
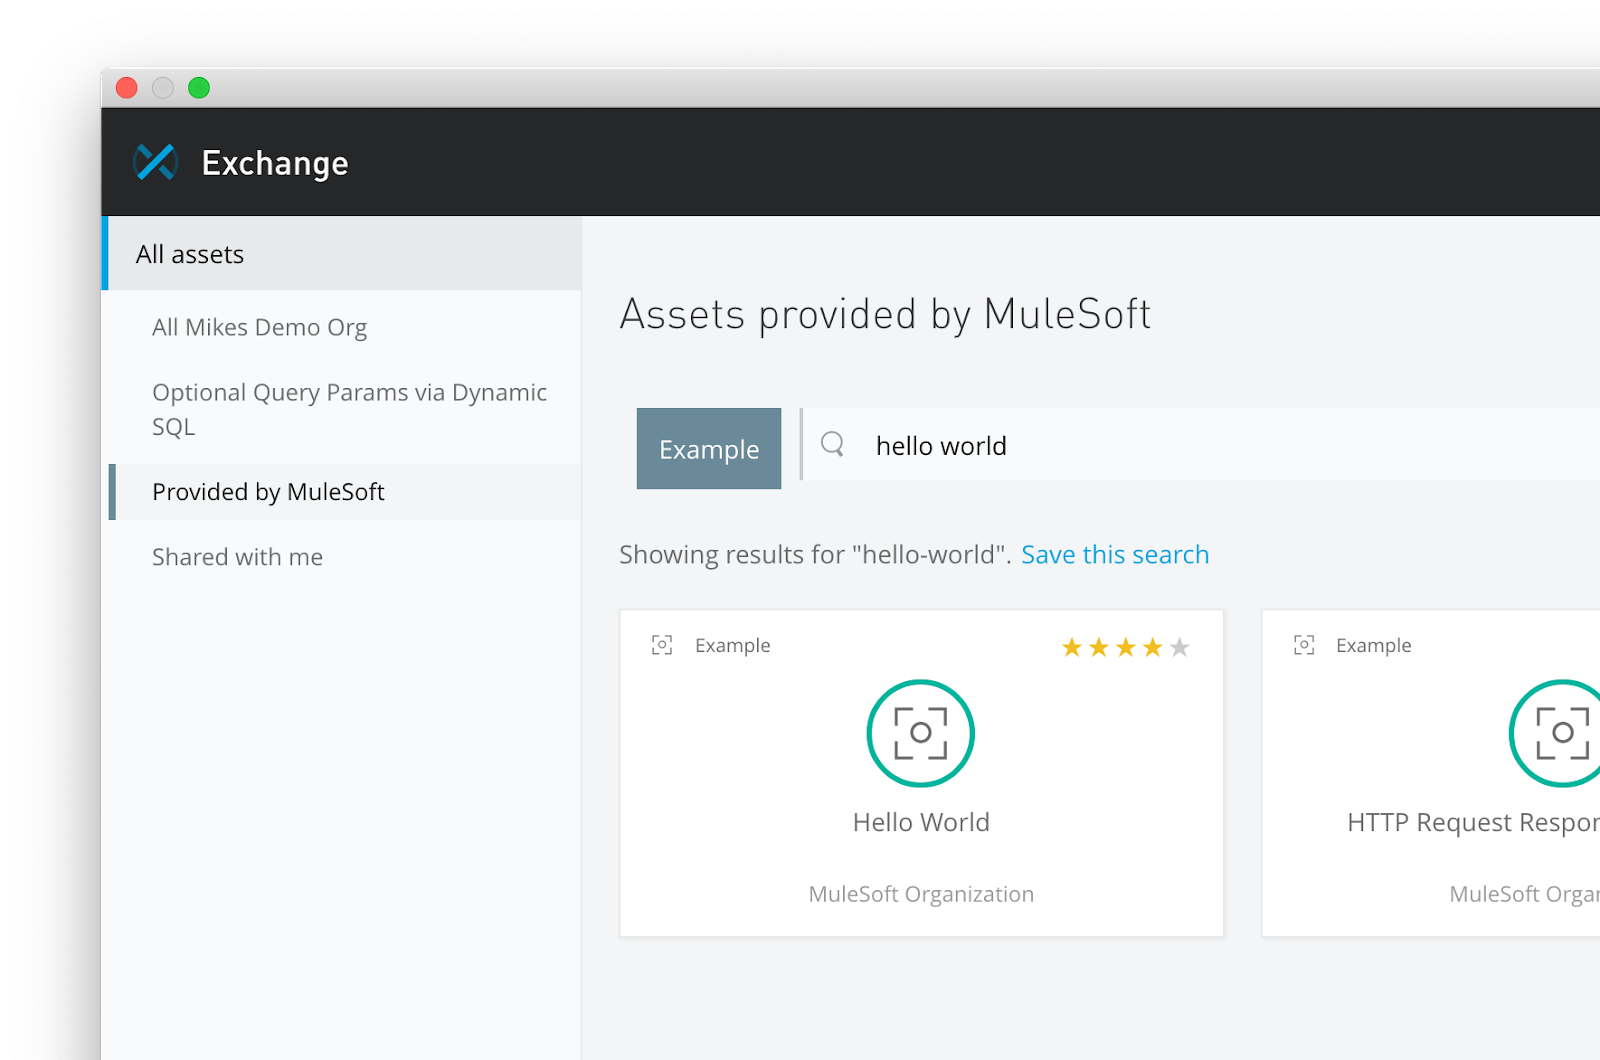
- Click
Openin the top right
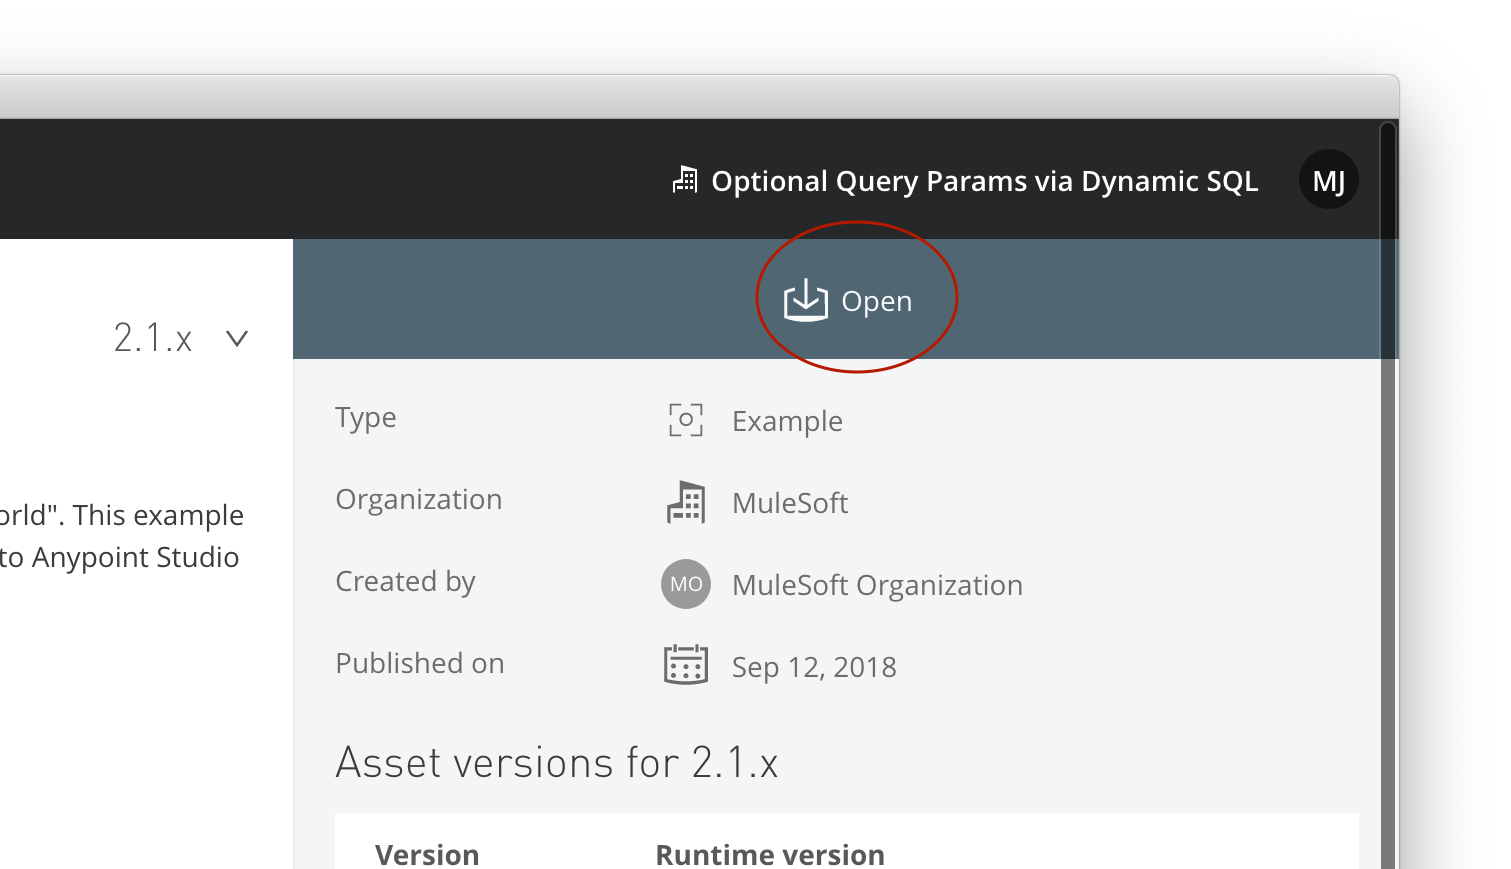
- In package explorer, you should now see a project called
hello-world
3 / 6 Setup Source Control
Next, we will create a GitHub repository to house our code, and to run our CI/CD workflow. Everything we will be doing with GitHub can be performed with a free account.
Create GitHub Repository
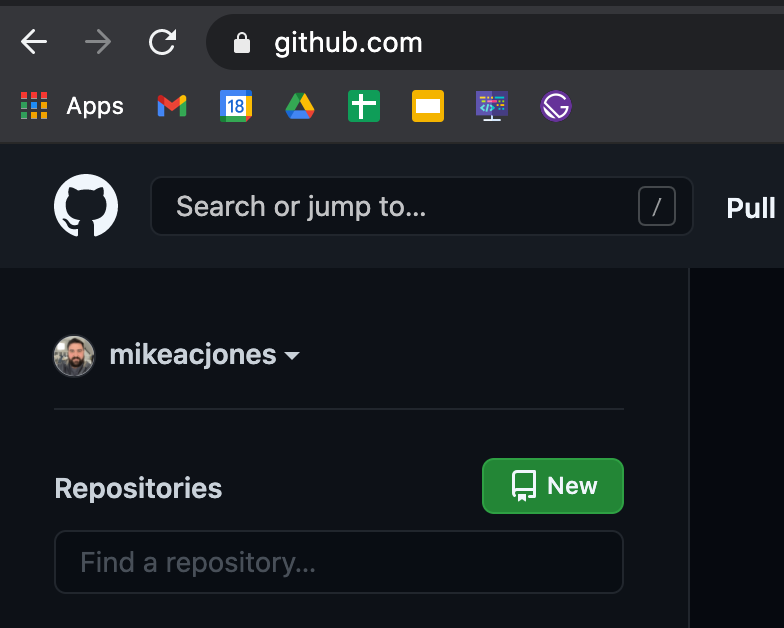
- Sign in to GitHub
- Click
Newto create a new repository
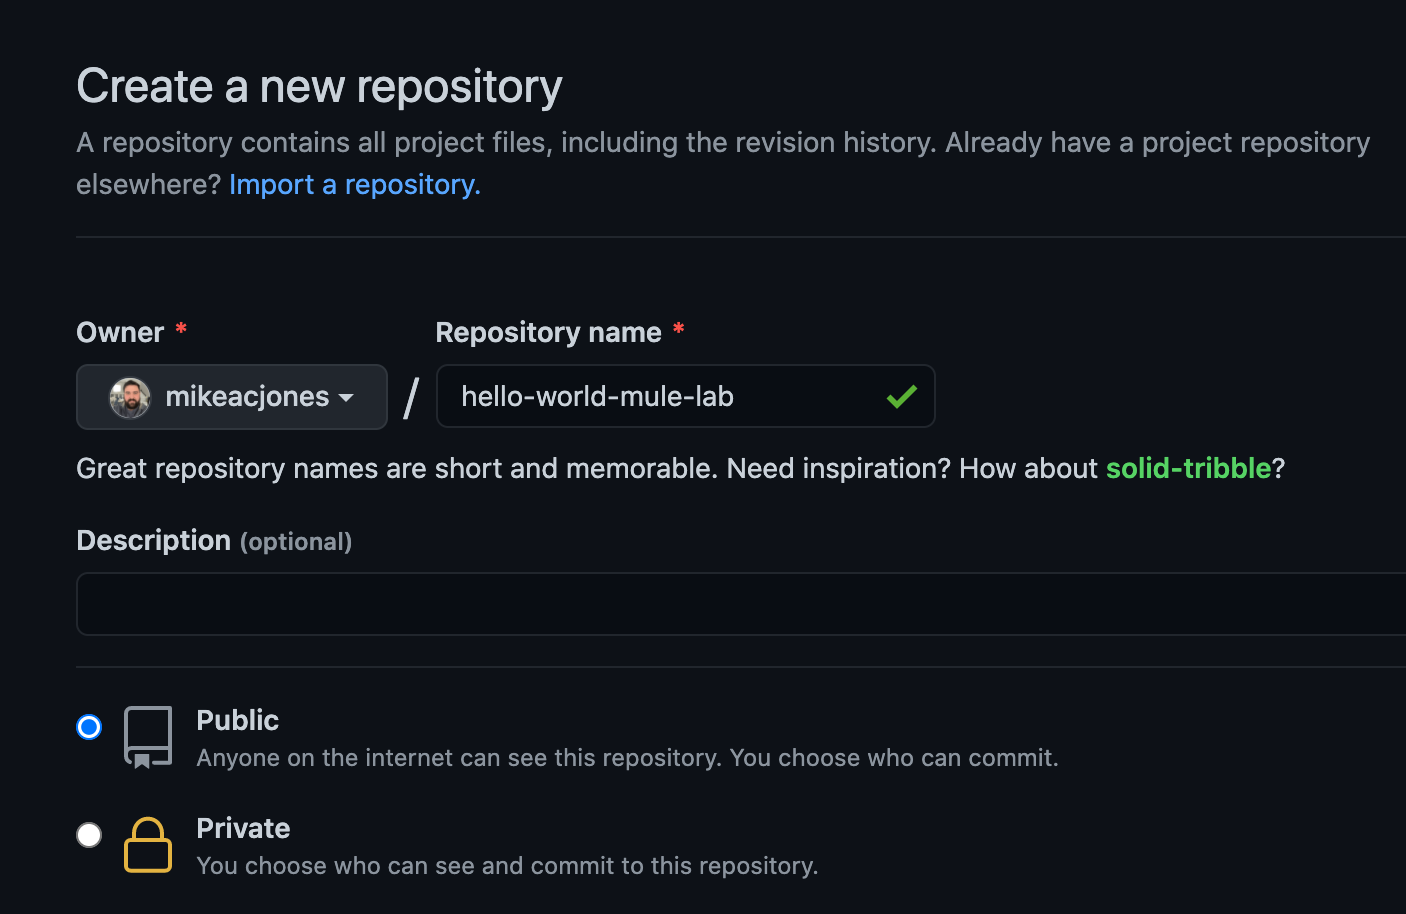
- Give your repository a name like
hello-world-mule-lab
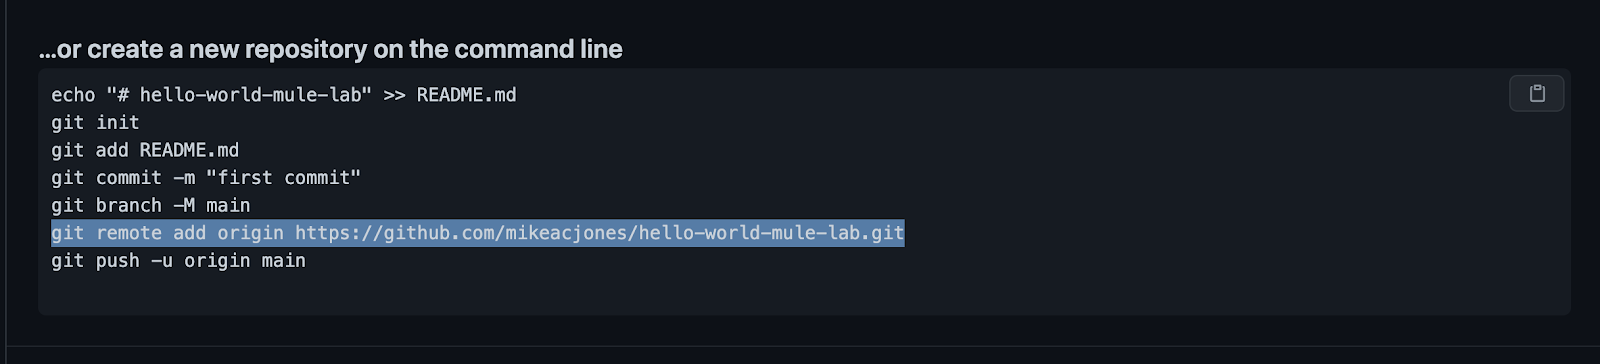
- On our new repo's landing page, copy the
git remote add originhttps://github.com/...command
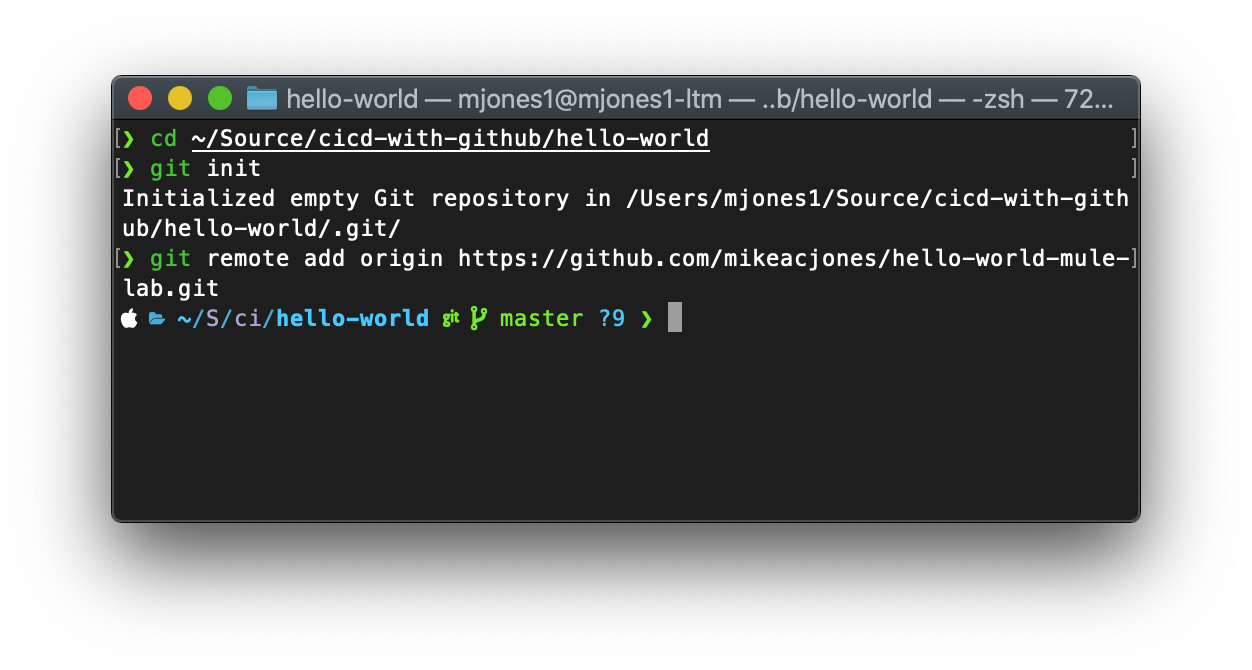
- Open terminal/command prompt
- Change directory to
cicd-with-github/hello-world - Run command
git init - Paste the
git remote add origin ...we copied earlier
- Before we make our first commit, we want to setup our
.gitignorefile first. In the hello-world directory, create a file called.gitignoreand paste the following:
.gitignore
# ------------------------------------------------------------------------------ #
# Java defaults (https://github.com/github/gitignore/blob/master/Java.gitignore) #
# ------------------------------------------------------------------------------ #
*.class

# Package Files #
*.jar
*.war
*.ear

# ------------------------------------------------------------------------------------------- #
# Eclipse-specific (https://github.com/github/gitignore/blob/master/Global/Eclipse.gitignore) #
# ------------------------------------------------------------------------------------------- #
*.pydevproject
.metadata
bin/**
tmp/**
tmp/**/*
*.tmp
*.bak
*.swp
*~.nib
local.properties
.settings/
.loadpath
.project
.classpath

# External tool builders
.externalToolBuilders/

# Locally stored "Eclipse launch configurations"
*.launch

# CDT-specific
.cproject

# PDT-specific
.buildpath

# --------------- #
# Studio-specific #
# --------------- #
target/
.mule/**
.mule/**/*
.DS_Store
velocity.log
src/main/resources/config/*
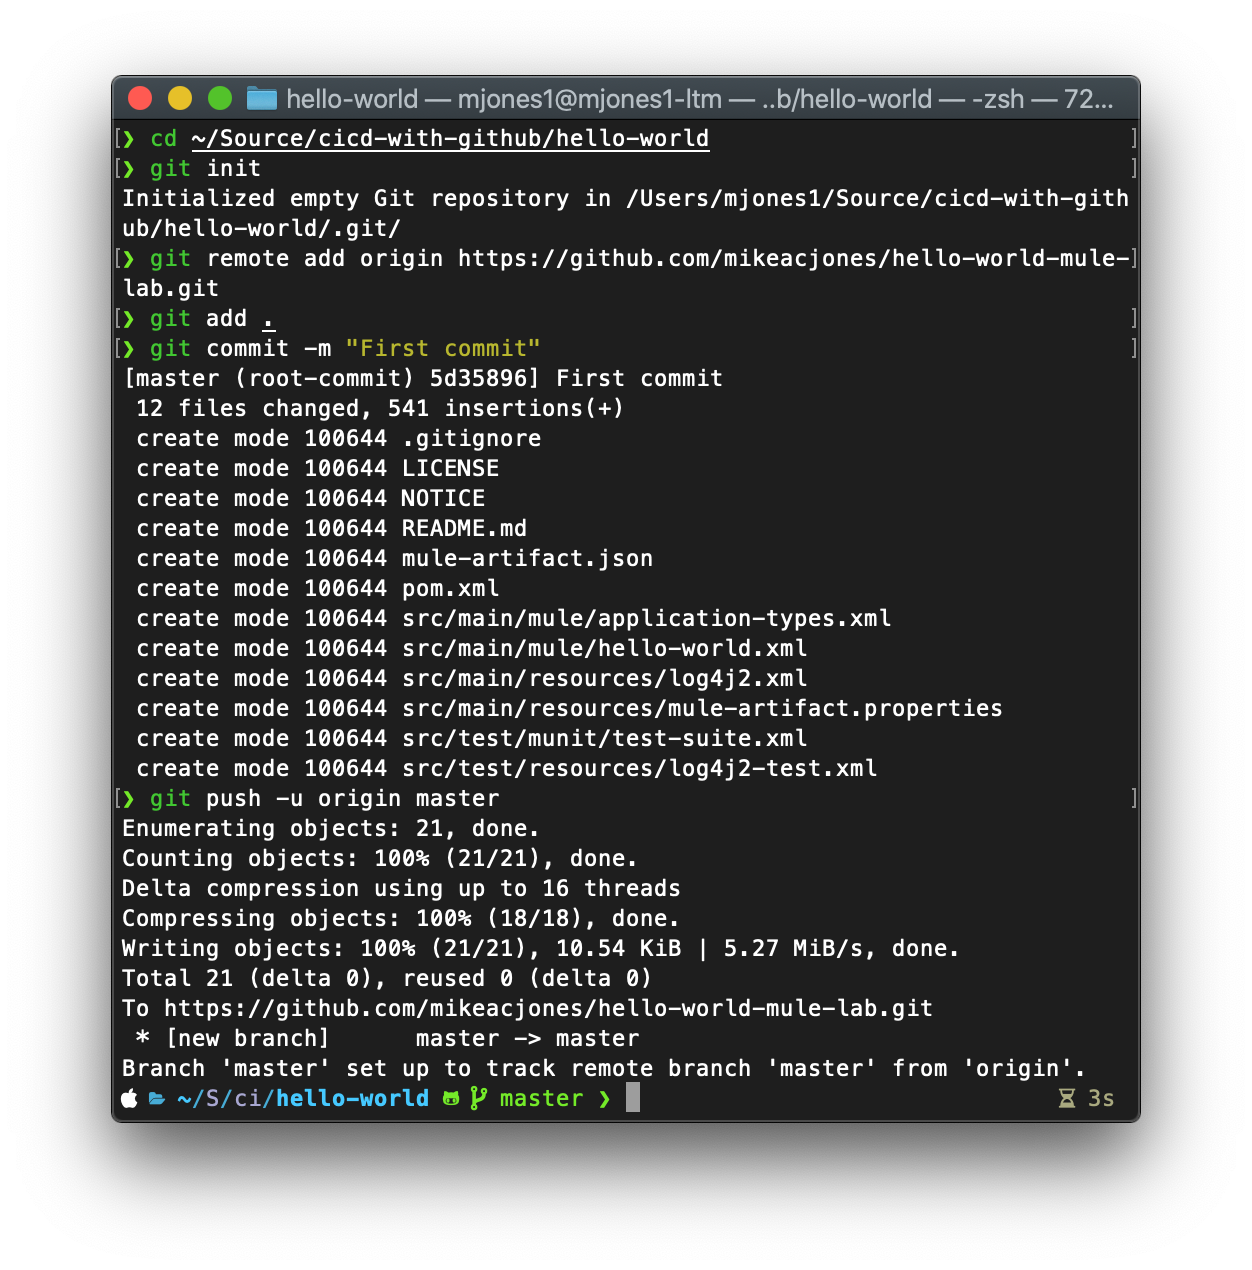
- After saving the
.gitignorefile, run the commandgit add . - Run command
git commit -m "First commit" - Run command
git push -u origin master
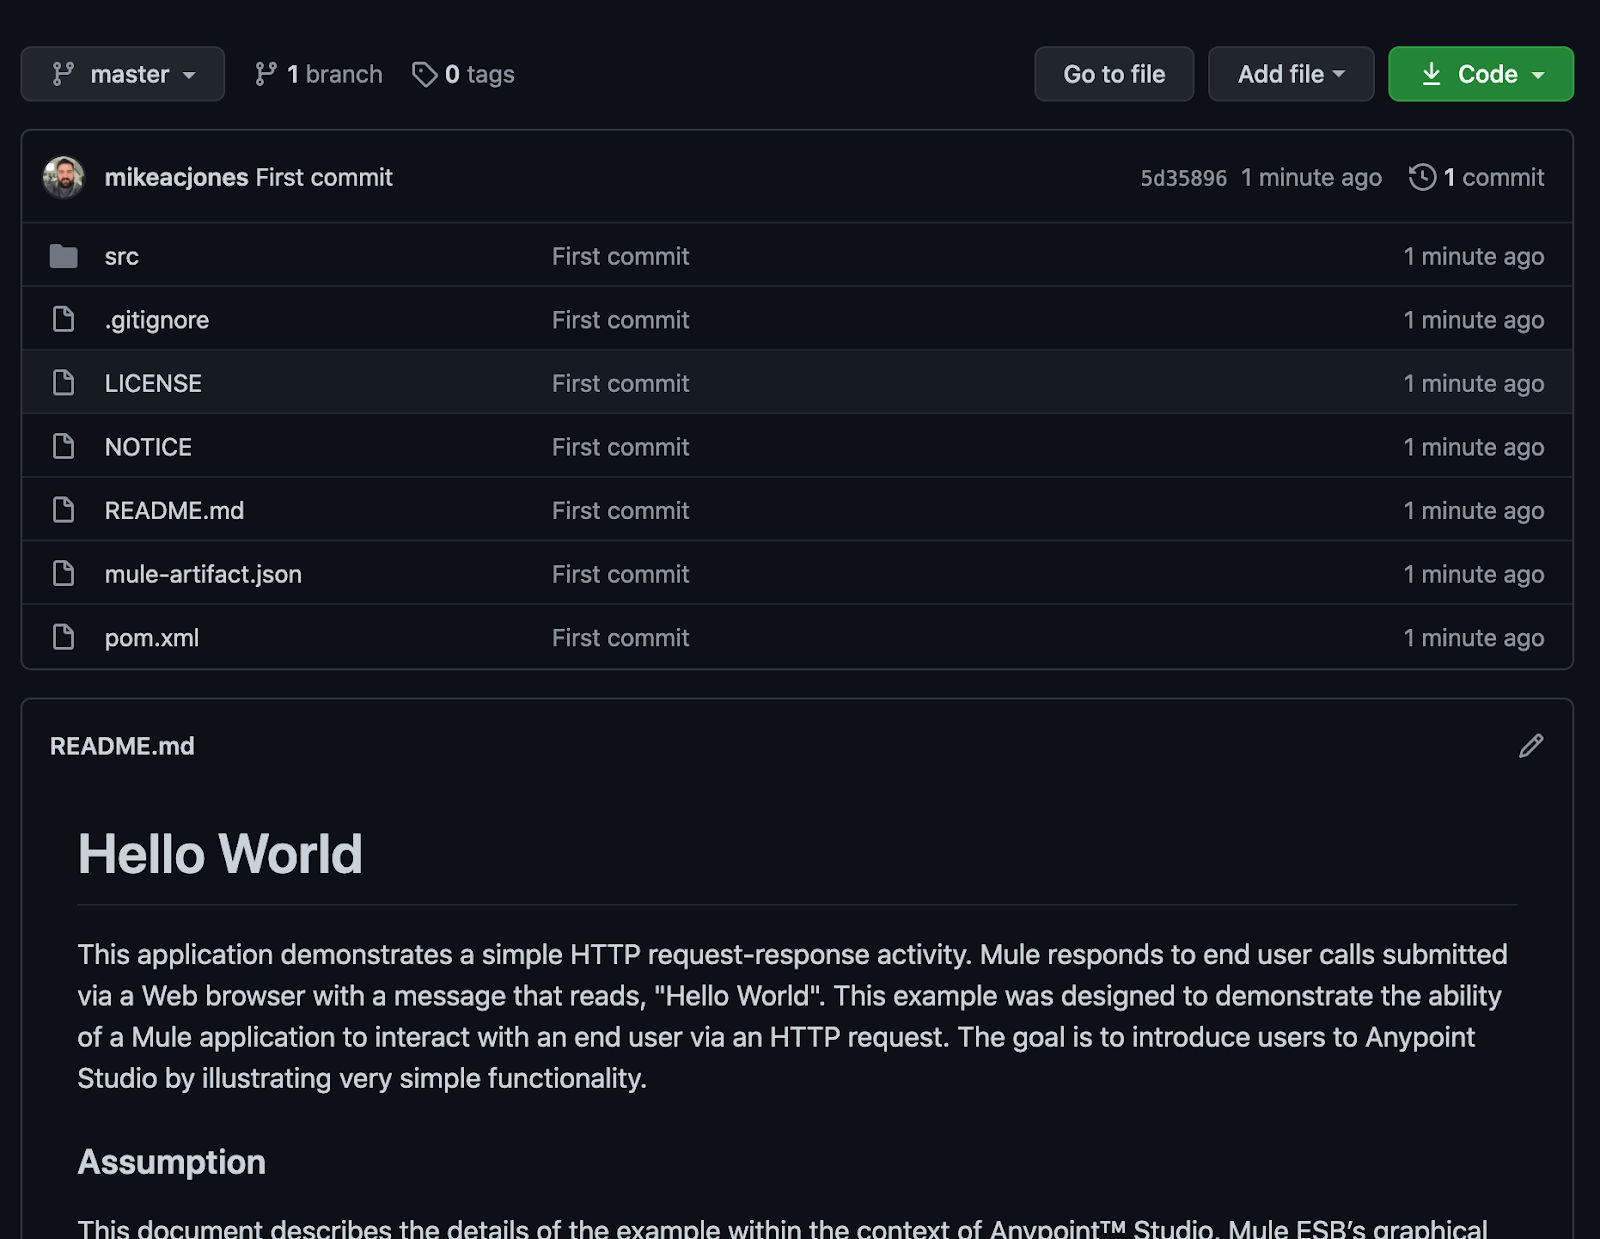
- We can now check on GitHub, and should see the contents of
hello-world
CI Environment Variables / Secrets
In order to deploy to CloudHub via an external CI platform, we need to setup some secrets to use as environment variables. For complete documentation on settings you can provide the plugin, see https://docs.mulesoft.com/mule-runtime/4.3/mmp-concept
You will need to add each of the environment variables below to your GitHub Repository's secrets. To add a repository secret:
- While viewing your GitHub Repository, click settings
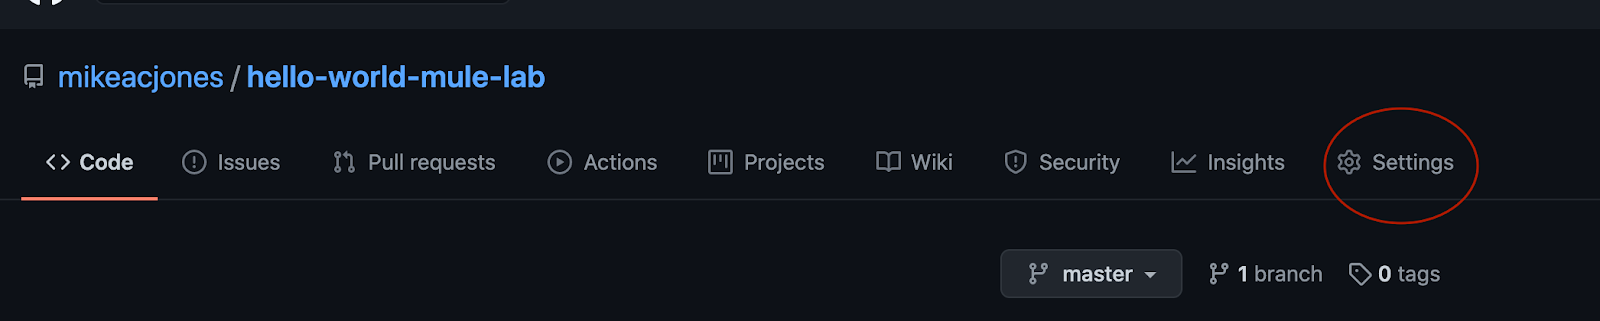
- Click on Secrets
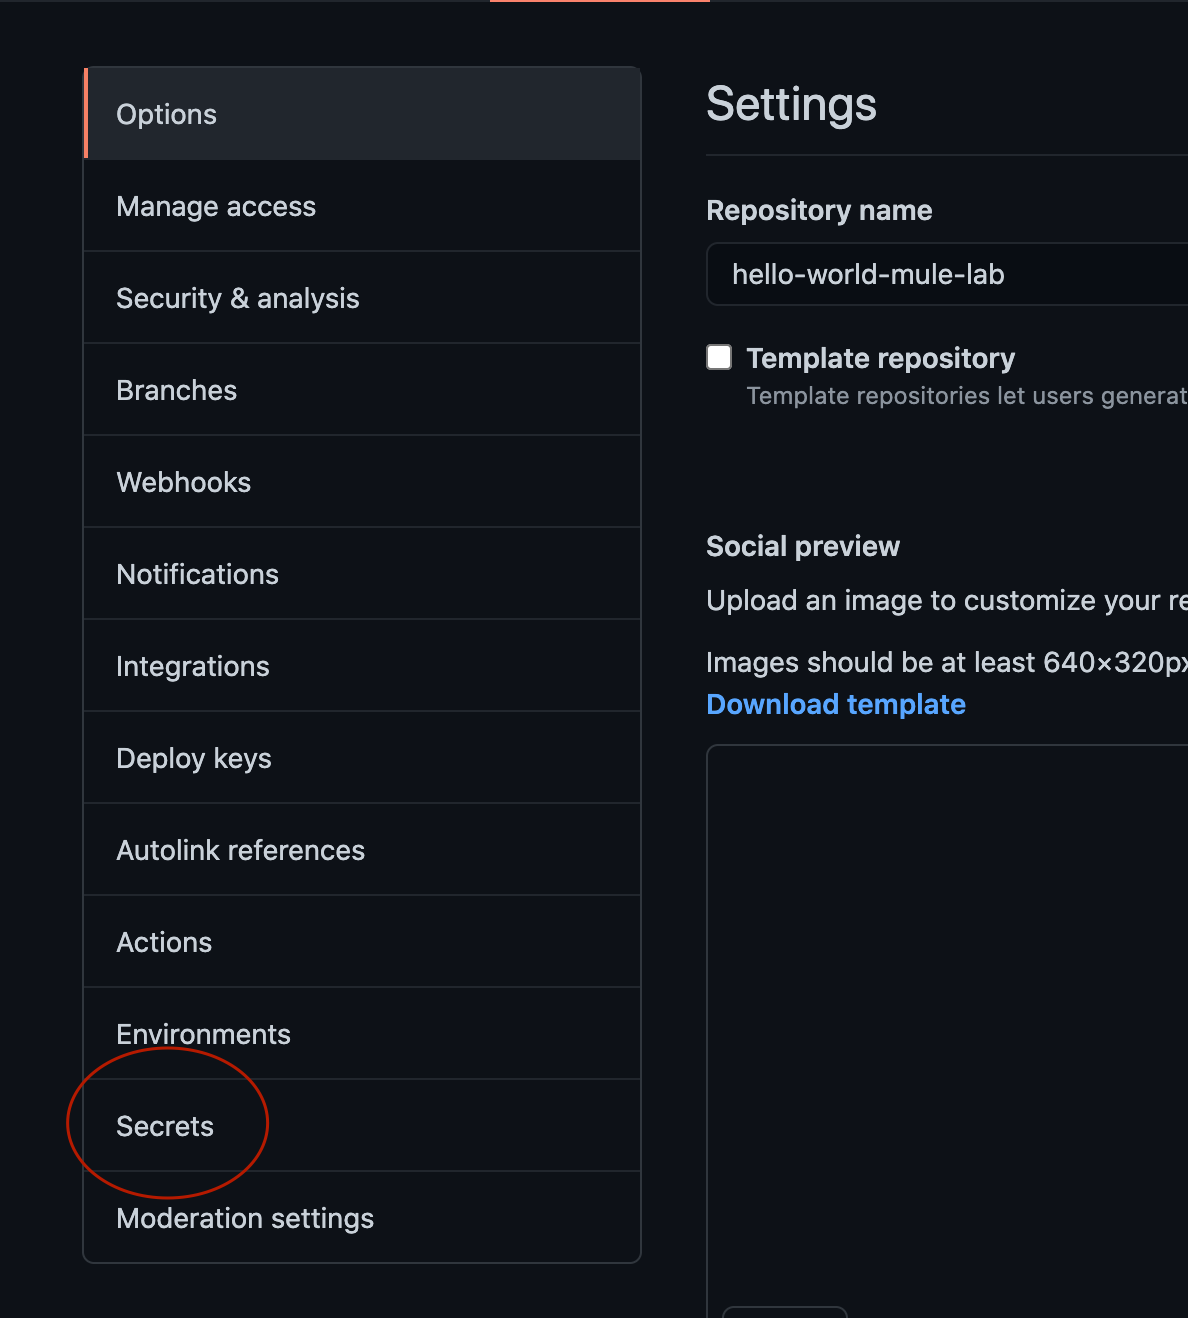
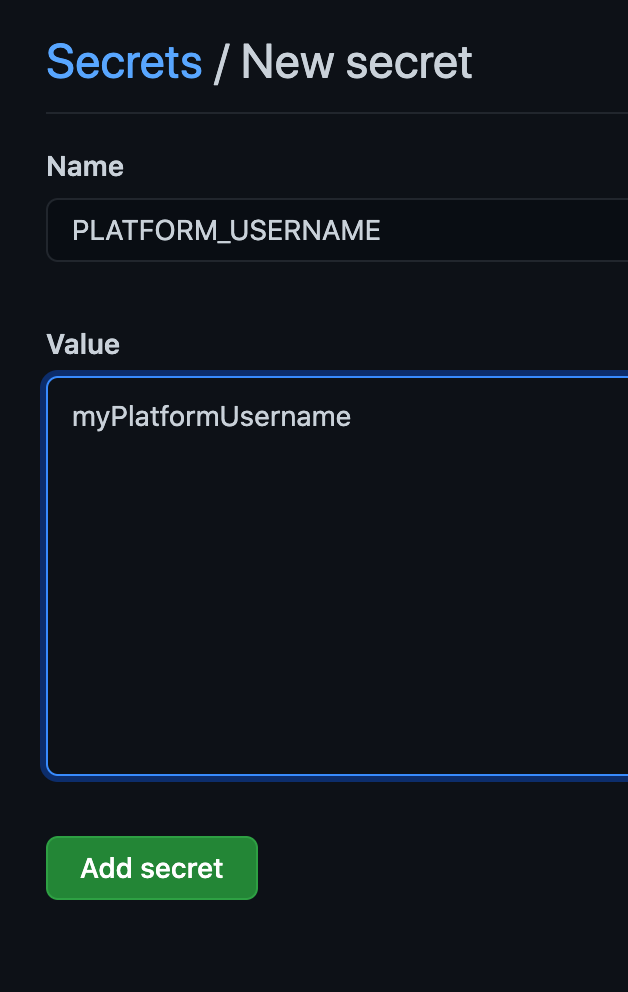
- Click New Repository Secret

- Fill in the name of the secret (use the same key names listed below) and the corresponding value. Click Add Secret
Add the following secrets to your repo:
- PLATFORM_USERNAME - your username for logging into https://anypoint.mulesoft.com; in a real-world environment, we would either use a specific service account with limited rights, or application specific credentials
- PLATFORM_PASSWORD - password for your anypoint account
- SANDBOX_CLIENT_ID - client ID for your CloudHub sandbox environment (to access this information, log into https://anypoint.mulesoft.com and navigate to Access Management -> Environments and click on the Environment you intend to deploy to
- SANDBOX_CLIENT_SECRET - client secret for CloubHub sandbox environment
- NEXUS_USERNAME - username for your Nexus account (see Overview section for more information on Nexus). These credentials will be used to authenticate with the Enterprise maven repository hosted by MuleSoft.
- NEXUS_PASSWORD - password for your Nexus account
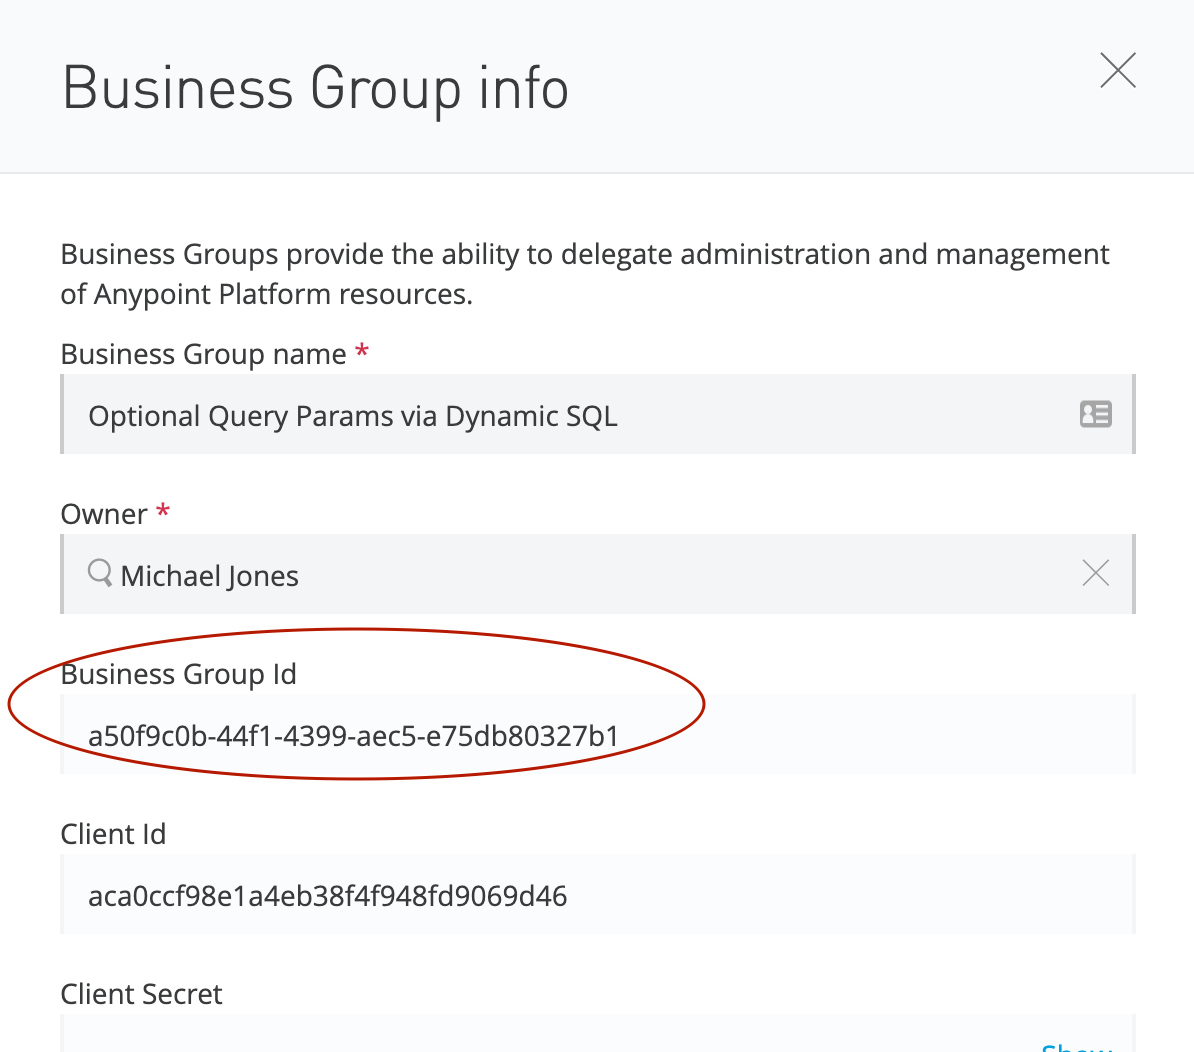
- BUS_GROUP_ID - business group ID you plan to deploy application to.
When your done, your repository secrets should look like this:
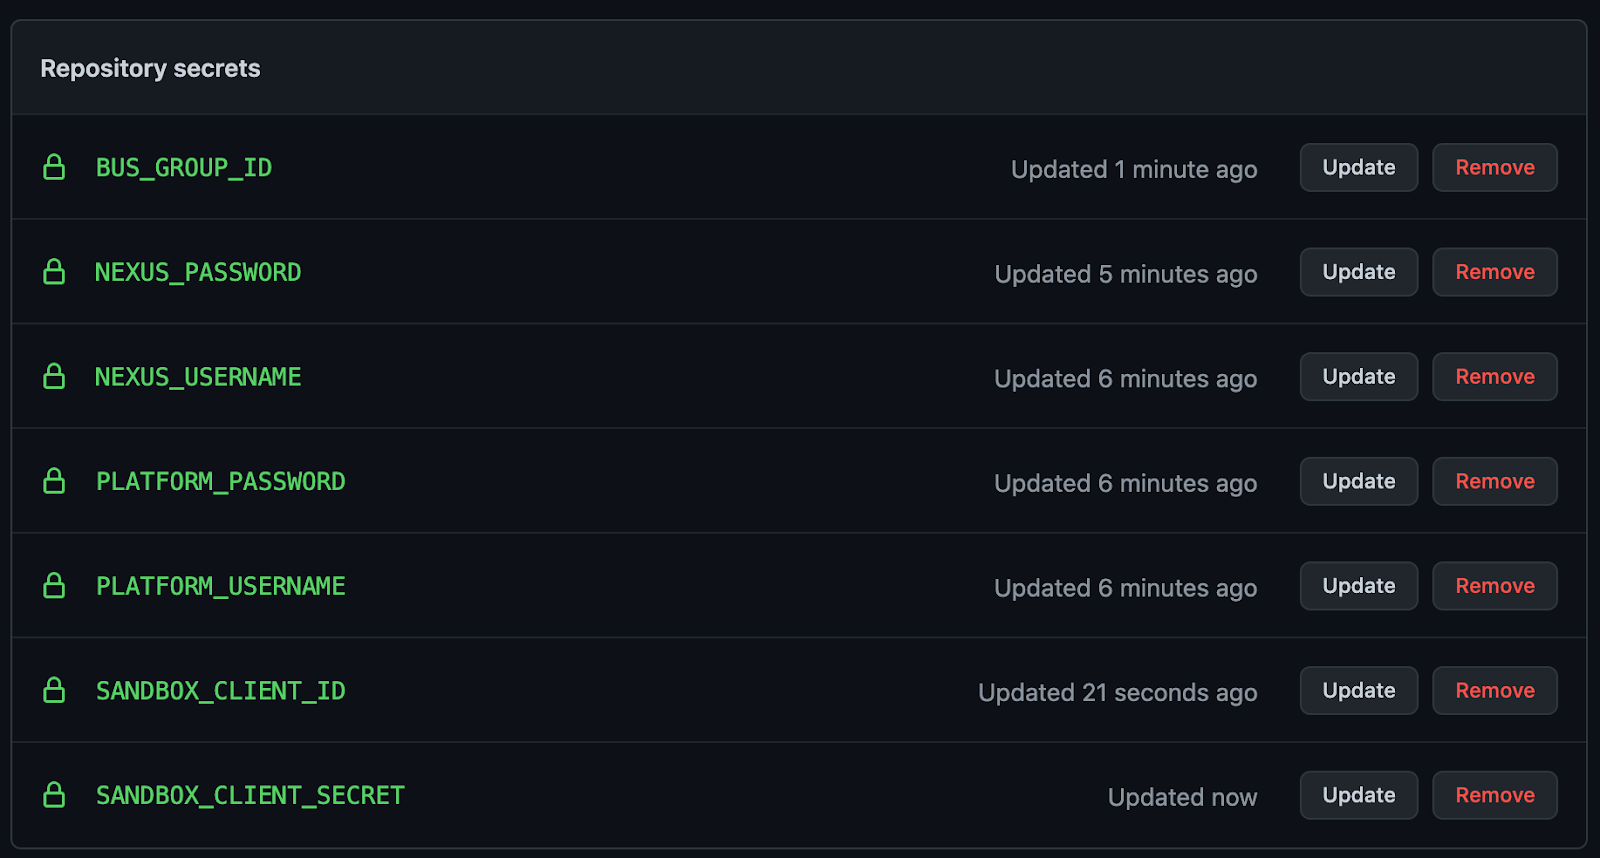
Now that you've added all of your secrets to the repository, we're ready to setup the repository for automated builds and deployments!
------
To find your business group ID:
- Log into anypint.mulesoft.com
- Click on the business group in the top right corner
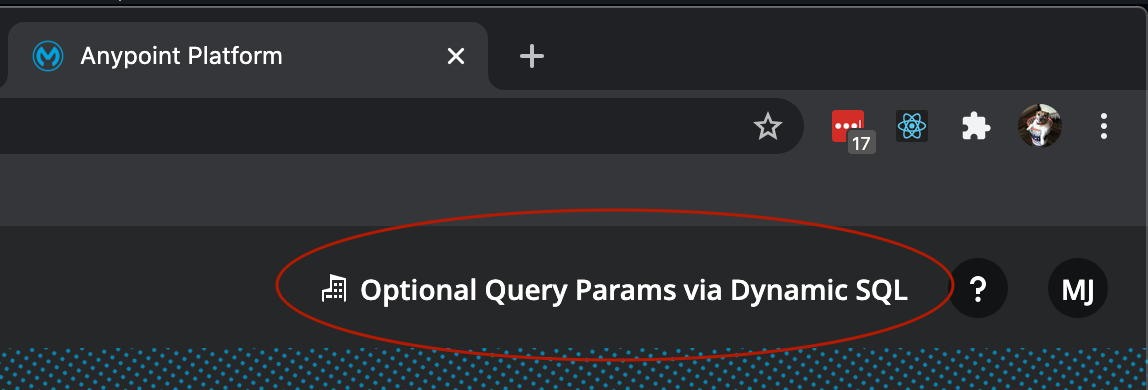
- Click on Business Groups
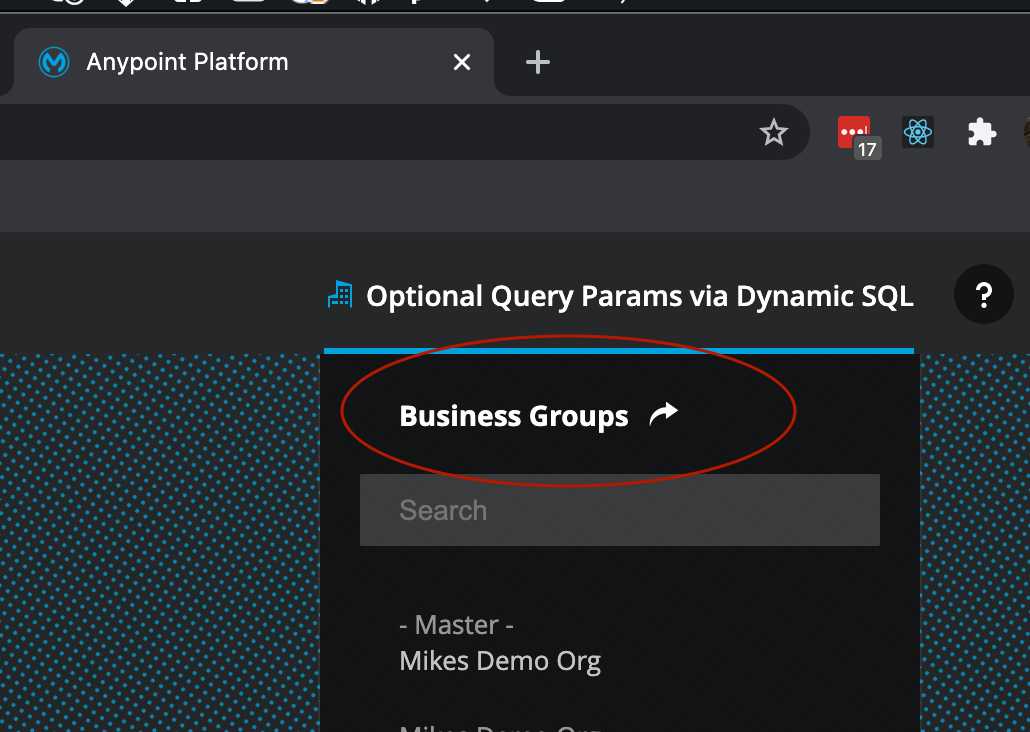
- Click on the business group in the access management window
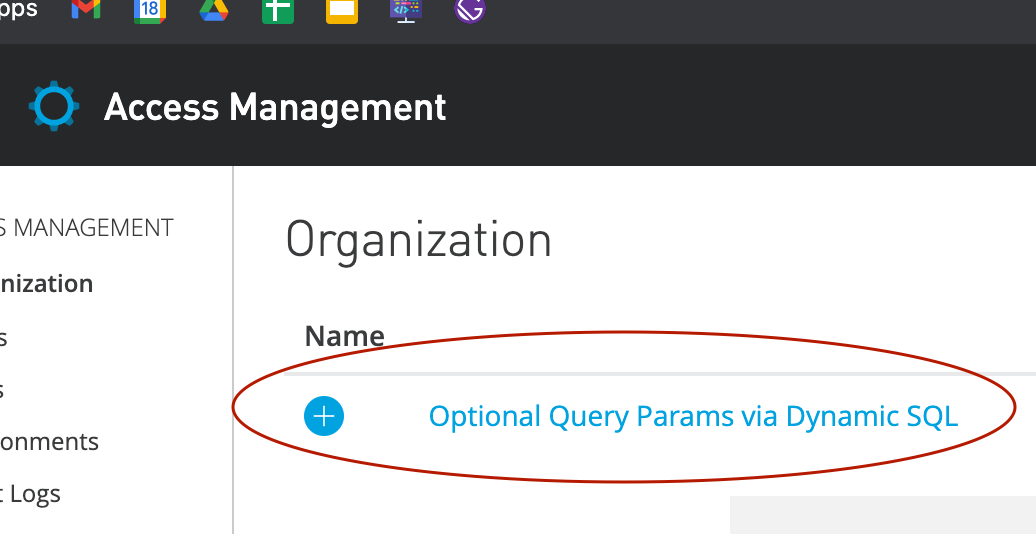
- Copy the Business Group ID
4 / 6 Setup Maven Plugin
Mule applications are, at the heart of things, mavenized java applications. In order to automate the build and deployment process, MuleSoft provides the mule-maven-plugin. Whether you're hosting your applications on CloudHub, AWS, Azure, GCP, on-prem, a raspberry pi in your closet, etc.. you can use the mule-maven-plugin to automate your deployments via the Anypoint Control Plane. In this workshop, to keep things as simple as possible, we will be deploying our application to a single .1vcore worker in CloudHub. For information about deployment to other platforms, check the documentation: https://docs.mulesoft.com/mule-runtime/4.3/mmp-concept
Back to Anypoint Studio!
- Open up the POM.xml
- Find the XML key
mule.maven.plugin.versionand update the version to the latest version on the release page to ensure we have the latest fixes. At the time of writing this, the latest version is3.4.2.
pom.xml
<properties>
        <munit.version>2.1.2</munit.version>
        <mule.maven.plugin.version>3.4.2</mule.maven.plugin.version>
</properties>- Add our
cloudHubDeploymententry to themule-maven-pluginentry in thepluginssection of the pom.xml file.
pom.xml
<plugins>
  <plugin>
    <groupId>org.mule.tools.maven</groupId>
    <artifactId>mule-maven-plugin</artifactId>
    <version>${mule.maven.plugin.version}</version>
    <extensions>true</extensions>
    <configuration>
      <classifier>mule-application</classifier>
      <cloudHubDeployment>
        <muleVersion>4.3.0</muleVersion>
        <username>${env.PLATFORM_USERNAME}</username>
        <password>${env.PLATFORM_PASSWORD}</password>
        <applicationName>hello-world-SOMETHING-UNIQUE</applicationName>
        <environment>Sandbox</environment>
        <workers>1</workers>
        <workerType>MICRO</workerType>
        <objectStoreV2>true</objectStoreV2>
        <region>us-east-2</region>
        <businessGroupId>${env.BUS_GROUP_ID}</businessGroupId>
      </cloudHubDeployment>
    </configuration>
  </plugin>

  ...

</plugins>
We're specifying how we want the application deployed to CloudHub. For the complete list of available keys, see https://docs.mulesoft.com/mule-runtime/4.3/deploy-to-cloudhub
When authenticating with maven repositories, maven needs credentials (duh!). Typically, reusable credentials are stored in a shared settings.xml file located in your m2 folder. You can do the same thing with your CI platform; the majority of CI platforms (GitHub only offers these features for paid accounts) allow you to store shared organization credentials / configurations. As we're using a free GitHub repository, we'll go ahead and add a settings.xml file to our project.
- Create a new XML file:
/cicd-with-github/hello-world/.maven/settings.xml
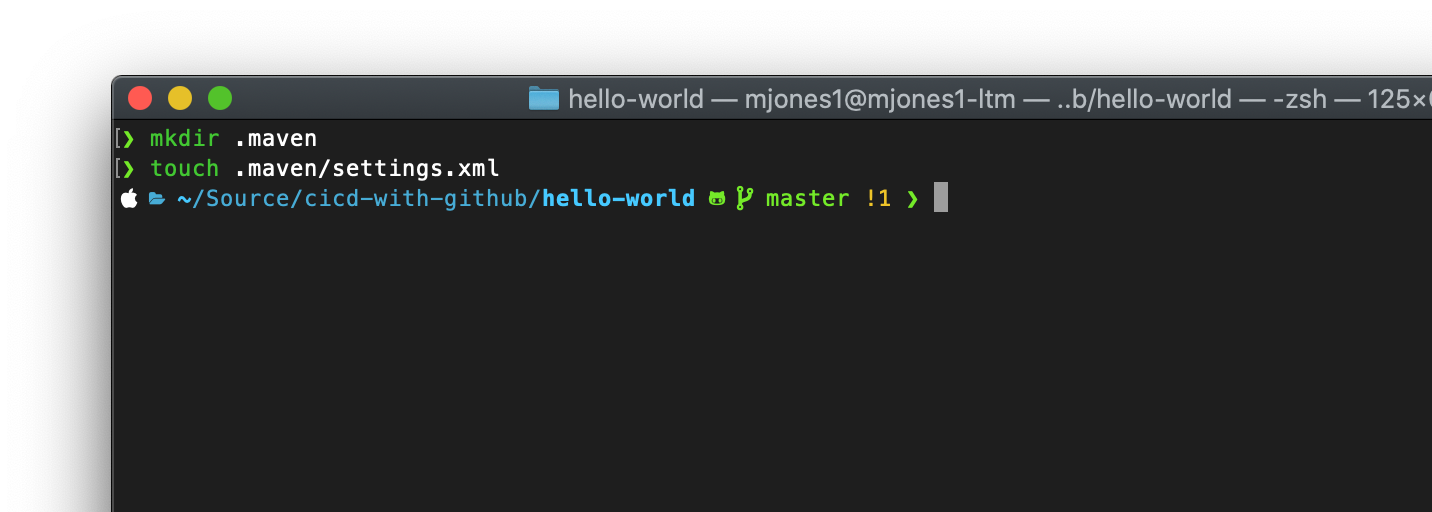
- Open settings.xml and paste the following code:
.maven/settings.xml
<?xml version="1.0" encoding="UTF-8" standalone="no"?>
<settings>
  <servers>
    <server>
      <id>MuleRepository</id>
      <username>${env.NEXUS_USERNAME}</username>
      <password>${env.NEXUS_PASSWORD}</password>
    </server>
    <server>
      <id>anypoint-exchange-v2</id>
      <username>${env.PLATFORM_USERNAME}</username>
      <password>${env.PLATFORM_PASSWORD}</password>
    </server>
  </servers>
  <pluginGroups>
    <pluginGroup>org.mule.tools</pluginGroup>
  </pluginGroups>
  <profiles>
    <profile>
      <id>mule-extra-repos</id>
      <activation>
        <activeByDefault>true</activeByDefault>
      </activation>
      <repositories>
        <repository>
          <id>mule-public</id>
          <url>https://repository.mulesoft.org/nexus/content/repositories/public</url>
        </repository>
      </repositories>
      <pluginRepositories>
        <pluginRepository>
          <id>mule-public</id>
          <url>https://repository.mulesoft.org/nexus/content/repositories/public</url>
        </pluginRepository>
      </pluginRepositories>
    </profile>
    <profile>
      <id>Mule</id>
      <activation>
        <activeByDefault>true</activeByDefault>
      </activation>
      <repositories>
        <repository>
          <id>MuleRepository</id>
          <name>MuleRepository</name>
          <url>https://repository.mulesoft.org/nexus-ee/content/repositories/releases-ee/</url>
          <layout>default</layout>
          <releases>
            <enabled>true</enabled>
          </releases>
          <snapshots>
            <enabled>true</enabled>
          </snapshots>
        </repository>
      </repositories>
    </profile>
  </profiles>
</settings>
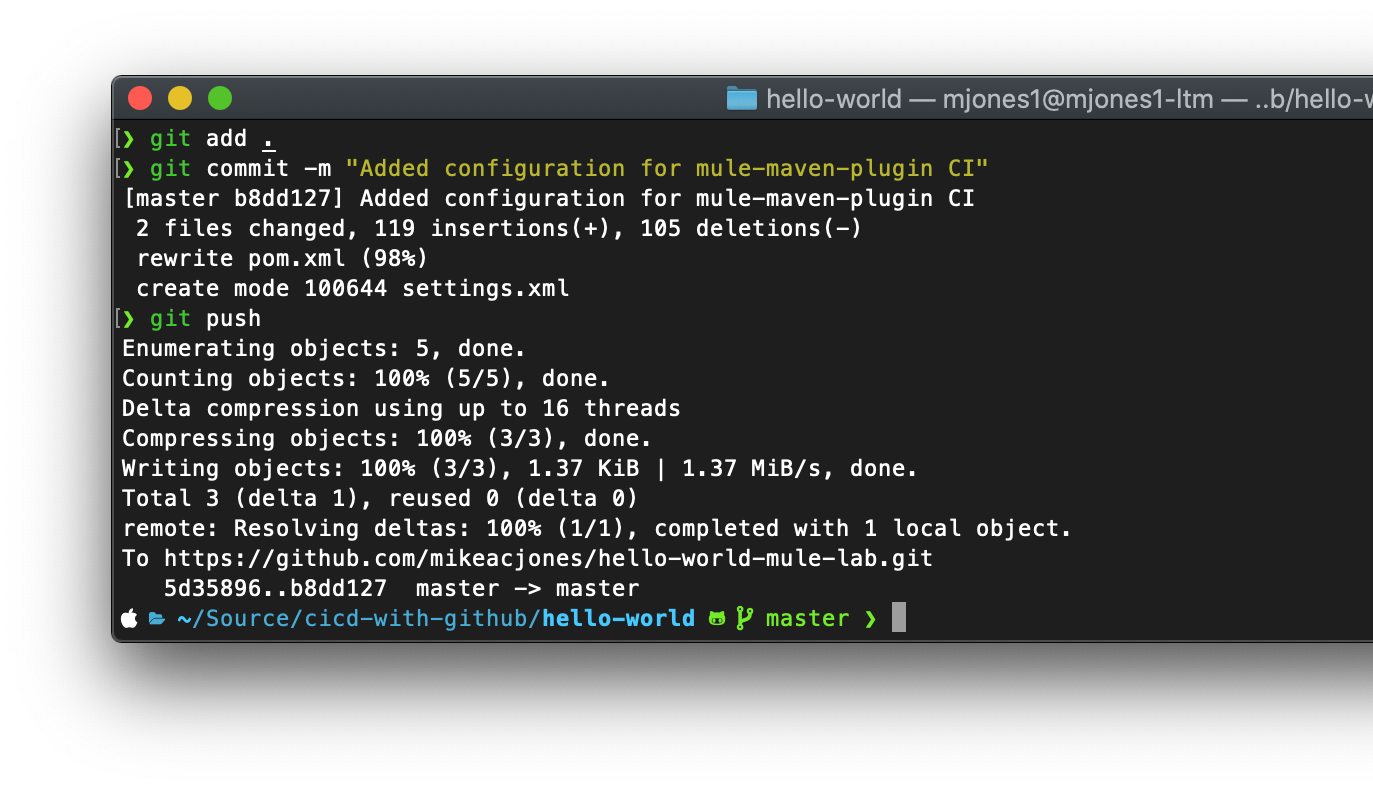
- Now that we've made our changes, commit the changes and push to your repository.
5 / 6 Setup GitHub Actions Workflow
We're in the home stretch now! Now that we've created our repository, setup our secrets, and configured our application for automated deployment, we need to create the workflow. While we can do this just as easily from our local file system, for this lab we're going to use the GitHub web interface to create the workflow.
- Navigate to your repository on GitHub
- Click on Actions
- Find the Publish Java Application with Maven entry in the Continuous integration workflows section (remember! Mule applications are mavenized java applications) and click Setup this workflow.
Replace the default workflow code with the following:
.github/workflows/maven-publish.yml
name: Sandbox - Build and Deploy

on:
  push:
    branches: master
#normally you wouldn't be deploying master branch pushes to Sandbox,
#but we're keeping things simple! 😁

jobs:
  buildAndDeploy:
    runs-on: ubuntu-latest
    steps:
#first, we need to checkout our mule application's code
      - name: Checkout repository
        uses: actions/checkout@v2
      - name: Build and deploy artifact to sandbox
#run the maven deploy lifecycle. The -B indicated a batch process,
#which reduces the amount of logging the deployment does
        run: mvn -B deploy -DmuleDeploy -s .maven/settings.xml
#Pass in the secrets we need for deployment as environment variables
        env:
          NEXUS_USERNAME: ${{ secrets.NEXUS_USERNAME }}
          NEXUS_PASSWORD: ${{ secrets.NEXUS_PASSWORD }}
          PLATFORM_USERNAME: ${{ secrets.PLATFORM_USERNAME }}
          PLATFORM_PASSWORD: ${{ secrets.PLATFORM_PASSWORD }}
          SANDBOX_CLIENT_ID: ${{ secrets.SANDBOX_CLIENT_ID }}
          SANDBOX_CLIENT_SECRET: ${{ secrets.SANDBOX_CLIENT_SECRET }}
BUS_GROUP_ID: ${{ secrets.BUS_GROUP_ID }}- Click Start Commit in the top right
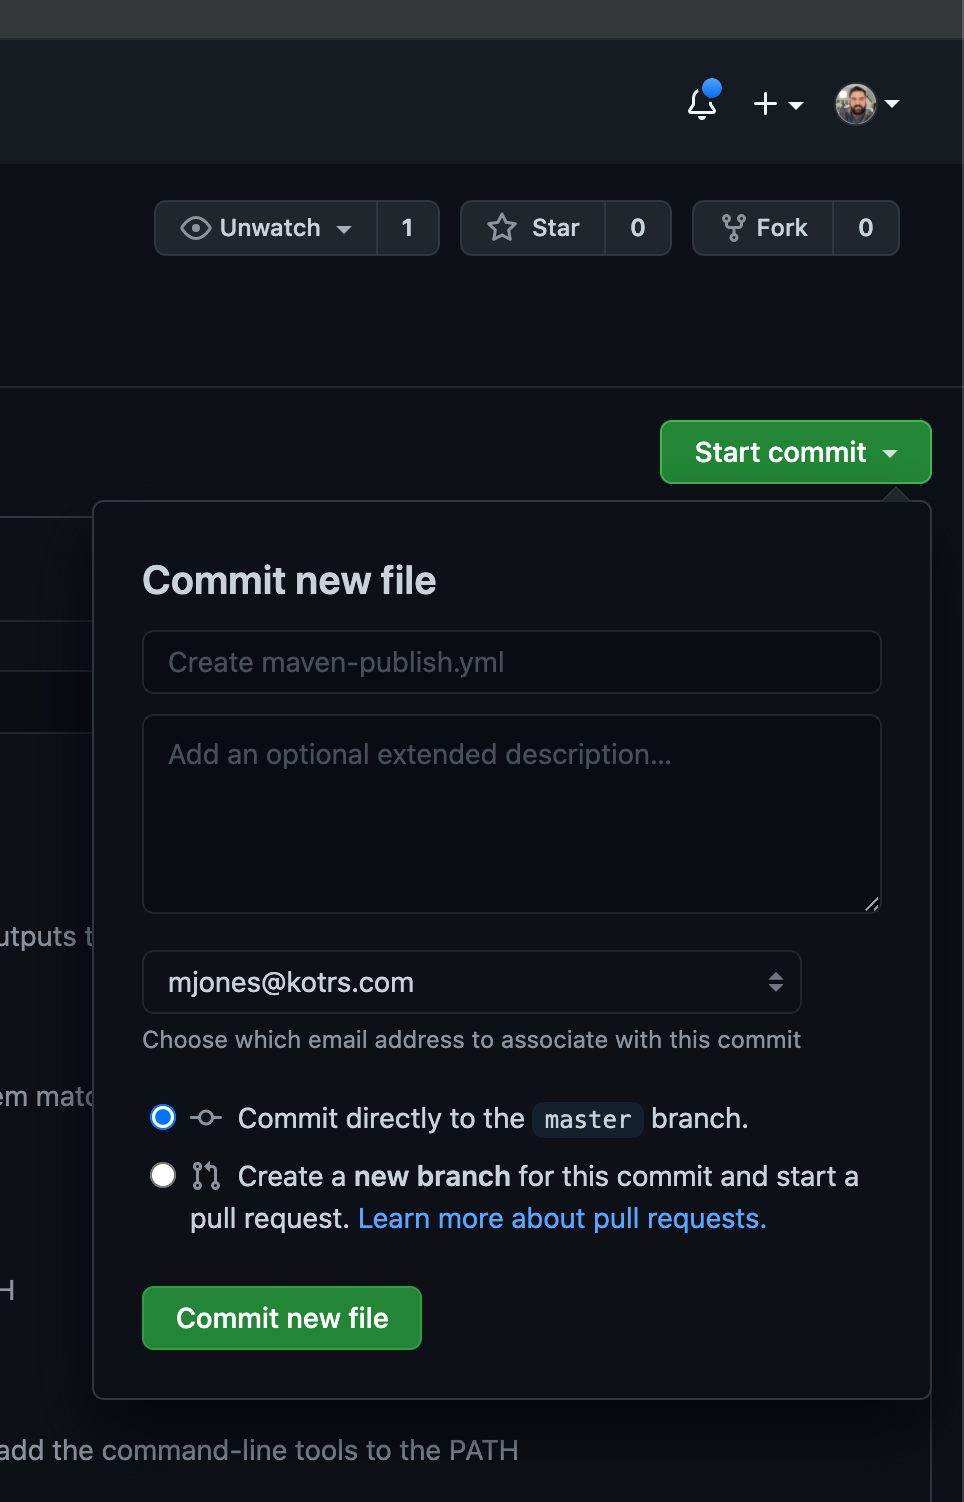
- As soon as you commit the file, you can go back to the Actions tab and you should see our workflow running!
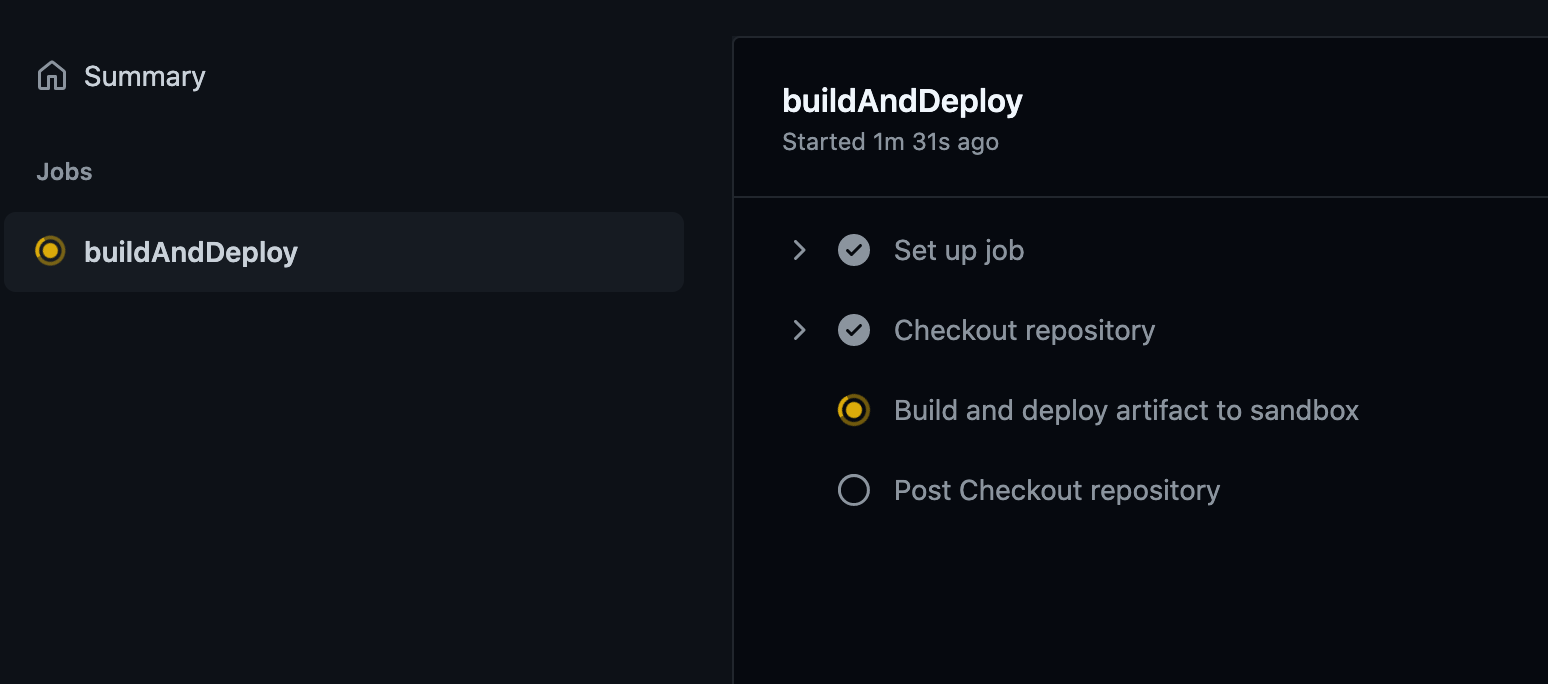
- The application has an MUnit test suite (
src/test/munit) which will be automatically run:
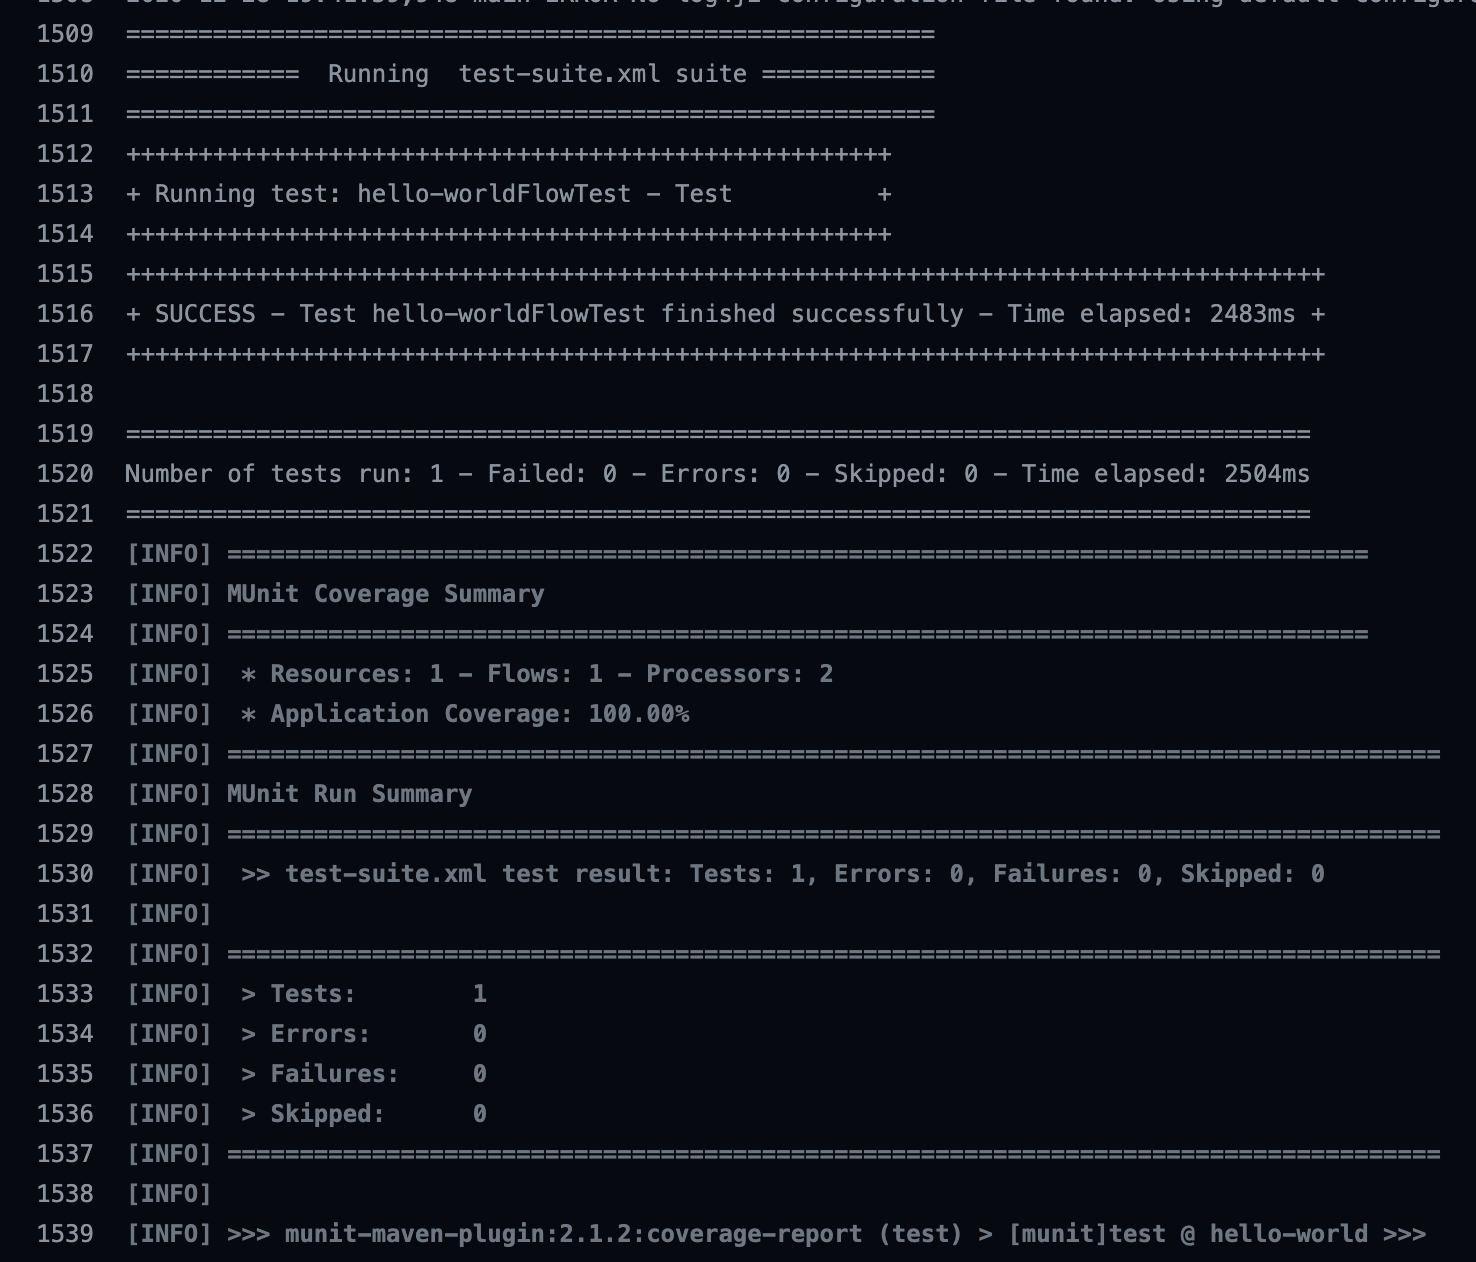
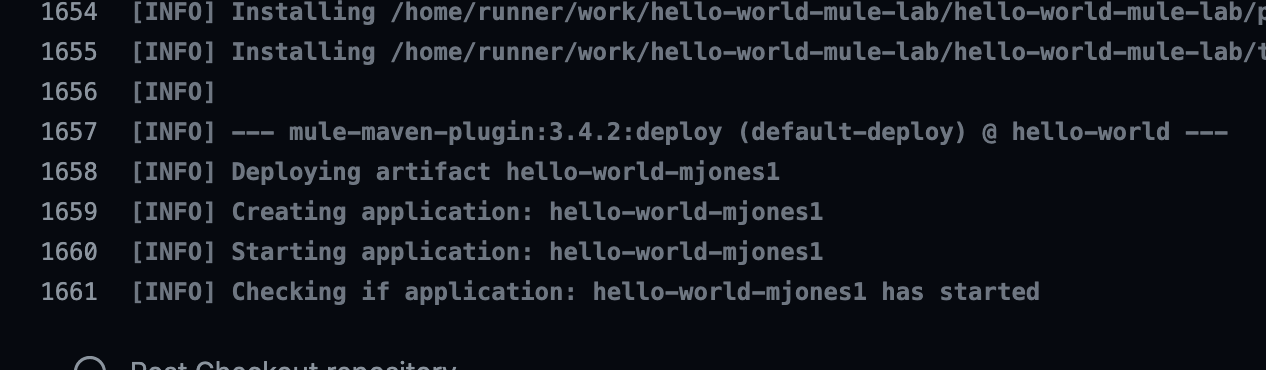
- Once done building the application, the plugin will upload the artifact to CloudHub and then wait for the SLB to acknowledge the application has started up and is live.
- While the application is starting, if you navigate to Runtime Manager, you can see our new application starting

6 / 6 Wrapping Up
Today we created an automated deployment of a Mule Application using GitHub Actions. While our GitHub workflow and GitHub secrets are unique to GitHub, the concepts used are not. Whether your using Jenkins, Azure Pipelines, CircleCI, GitLab, etc, the process is largely the same:
- Establish source control
- Build tests & application
- Configure the maven application with the
mule-maven-plugin - Parameterize sensitive information; do NOT store directly in source code
- In CI platform pass in sensitive information from some form of vault
- Profit
This was an extremely simplistic example, but Mule Applications are standard mavenized java applications. This means you can make your CI processes as complicated or simple as your use case dictated, eg: multibranch pipelines, secure vaults trigger builds via webhooks, SonarQube for quality gates, etc.
If you had any issues with this lab, please feel free to open an issue: https://github.com/mikeacjones/hello-world-mule-lab/issues/new